 Save
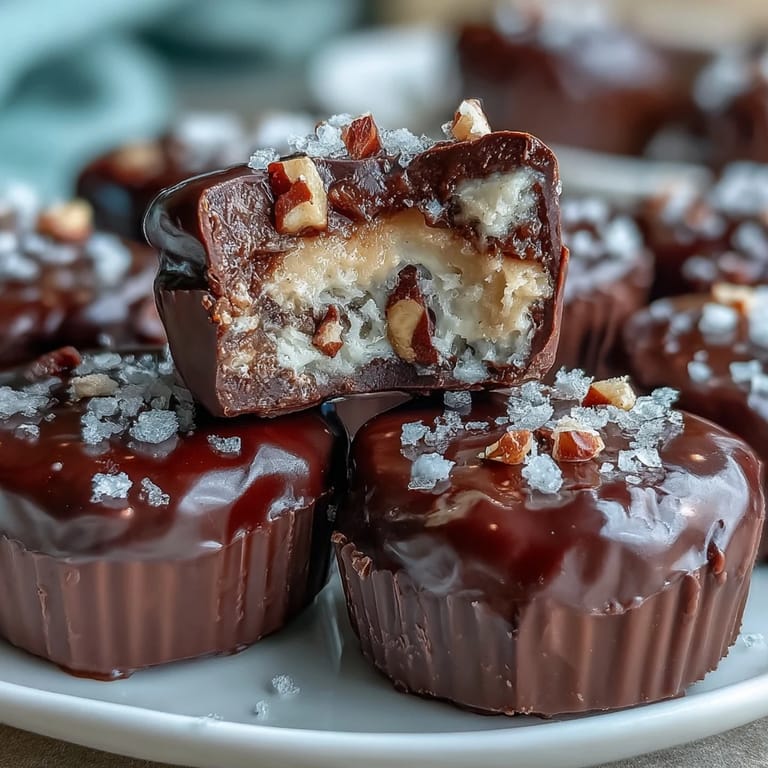
Save My freezer has become my secret weapon for staying sane on busy afternoons, and these peanut butter cup bites are the reason why. One Tuesday, I was standing in my kitchen at 3 PM, that hollow moment when you need something but coffee feels too heavy and regular snacks feel pointless. I'd been experimenting with cottage cheese in unexpected places, and it hit me—why not lean into it? Twenty minutes later, I had twelve little protein-packed treasures that tasted like indulgence but felt nourishing. Now they're my go-to when I want something that satisfies without the crash.
I made these for my sister's book club last month, and watching everyone's faces when they found out there was cottage cheese inside was honestly the best part. She'd texted earlier saying people were tired of the same old desserts, and I thought, well, let's shake things up. Someone asked for the recipe before they even finished their first bite, which felt like the highest compliment possible.
Ingredients
- Cottage cheese (1 cup, full-fat or low-fat): This is the foundation—it blends smooth as silk and adds protein without the heaviness of cream cheese or ricotta.
- Honey or maple syrup (2 tablespoons): Just enough sweetness to balance the peanut butter without making these candy-like.
- Vanilla extract (1 teaspoon): A small amount goes far here, bringing warmth and preventing the filling from tasting one-dimensional.
- Natural peanut butter (1/2 cup): Creamy or crunchy both work beautifully—this is where the soul of the recipe lives.
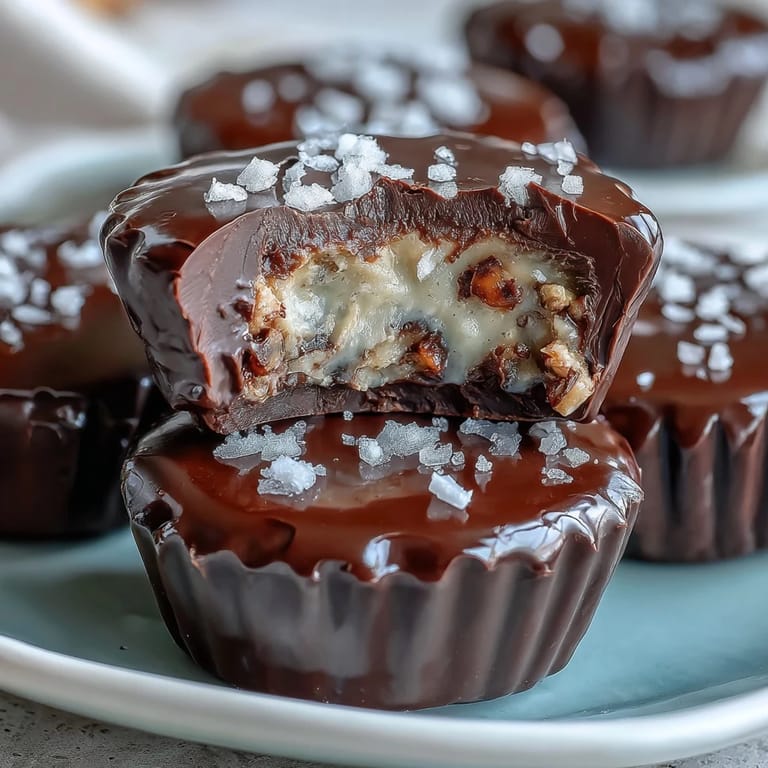
- Dark chocolate (1 cup chips, 60% cacao minimum): The coating should have some integrity and depth; milk chocolate works but tastes thinner by comparison.
- Coconut oil (1 tablespoon): This keeps the chocolate from seizing up and makes dipping and spreading feel effortless.
- Crushed roasted peanuts and flaky sea salt (optional): These add texture and a slight contrast that makes each bite feel intentional instead of predictable.
Tired of Takeout? 🥡
Get 10 meals you can make faster than delivery arrives. Seriously.
One email. No spam. Unsubscribe anytime.
Instructions
- Set up your stage:
- Line your mini muffin tin with liners—silicone ones are reusable and honestly worth the investment. This step takes two minutes and saves you so much frustration later.
- Blend the filling smooth:
- Combine cottage cheese, honey, and vanilla in a food processor or blender and run it until the texture is completely creamy with no graininess. This usually takes 30 to 45 seconds; you're looking for something that feels like soft frosting.
- Fold in the peanut butter:
- Add the peanut butter and blend again until everything is unified and smooth, scraping down the sides if needed. The mixture should be thick enough to hold its shape when spooned.
- Fill and smooth:
- Spoon the mixture into each liner, filling them about three-quarters full, then use the back of a spoon to create a fairly level surface. You want enough room for the chocolate coat without it spilling over.
- First freeze:
- Pop the tin into the freezer for at least one hour until the bites are completely firm to the touch. You can do this step in the evening and come back to it the next morning.
- Melt the chocolate carefully:
- Combine chocolate chips and coconut oil in a heatproof bowl set over simmering water, stirring frequently until melted and smooth, or microwave in 30-second bursts if that's easier for you. The goal is glossy and pourable without being hot enough to cook anything.
- Coat with chocolate:
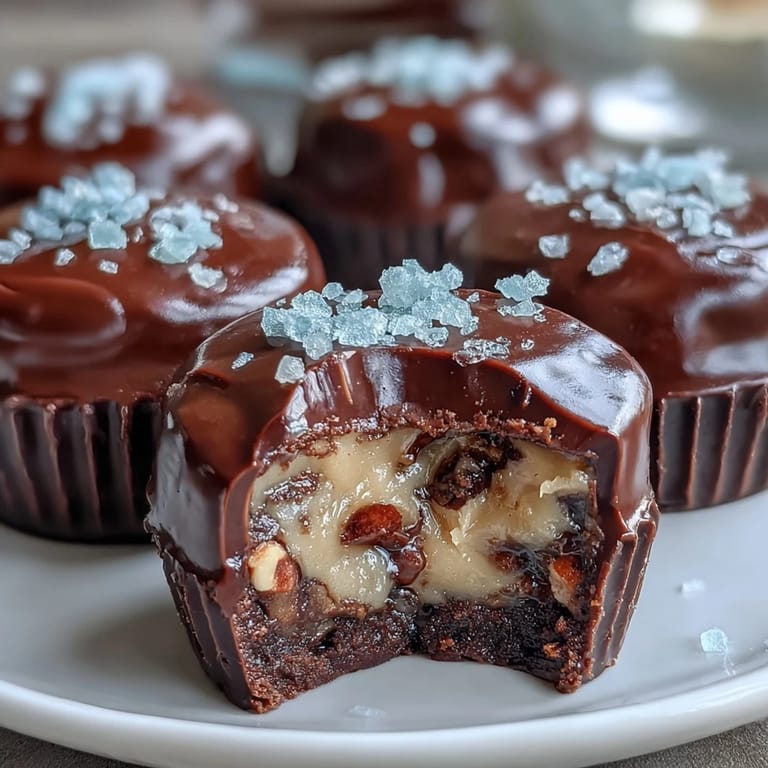
- Remove the frozen bites from the mold, spoon melted chocolate over the top of each one, and spread it gently with the back of the spoon to cover. Work reasonably quickly so the chocolate doesn't cool too much, but without rushing so much you end up with chocolate on your hands.
- Add final touches:
- If you're using toppings, sprinkle crushed peanuts and a whisper of sea salt over each chocolate-covered bite while the coating is still slightly tacky. This is optional but transforms them from simple to special.
- Final freeze:
- Return everything to the freezer for at least one more hour until the chocolate sets completely and hardens. Once solid, transfer them to an airtight container where they'll keep for several weeks.
 Save
Save There's something quietly powerful about having a freezer full of food that nourishes you and makes you happy at the same time. These bites sit there, waiting for that moment when you need to be gentle with yourself, and they deliver every single time.
Storage and Make-Ahead Magic
These are built for batch cooking on a lazy Sunday afternoon. Make a double batch and store them in an airtight container in the freezer for up to four weeks, which means you always have a protein-rich snack ready without any thought or guilt. I keep mine in a small glass container on a visible shelf so I actually remember they exist and eat them instead of forgetting about them.
Customizing Without Losing the Magic
The beauty of this recipe is that it welcomes substitutions without falling apart. I've used almond butter when peanut was running low, and the flavor shifted just slightly but remained completely delicious. Maple syrup instead of honey gives things a deeper, slightly earthier tone that pairs especially well with darker chocolate.
Kitchen Wisdom from Making These Repeatedly
After making these dozens of times, I've learned that patience and attention to small details make the difference between pretty good and genuinely crave-worthy. The texture changes slightly depending on whether you use full-fat or low-fat cottage cheese, with full-fat delivering something richer and more luxurious. Temperature control matters too—if your kitchen is warm, freeze the bites longer before coating so the chocolate doesn't melt off.
- Let them sit at room temperature for just three to five minutes before eating so the chocolate coating softens slightly and the filling becomes creamy again.
- If you mess up the chocolate coat the first time, just scrape it off and remelt—there's no such thing as a failed batch here, only practice.
- Make these on a day when you have time to let them freeze properly; rushing the process results in bites that are harder than you want them to be.
 Save
Save These little bites have become my answer to the question of how to eat well without feeling deprived. Keep them close and keep them coming.
Recipe FAQs
- → How do I achieve a smooth filling?
Blend cottage cheese, honey or maple syrup, and vanilla extract thoroughly before adding peanut butter. This ensures a creamy texture without lumps.
- → Can I replace peanut butter for allergies?
Yes, sunflower seed butter works well as a nut-free alternative without altering the creamy texture.
- → What is the best way to melt the chocolate coating?
Use a double boiler or microwave in short intervals, stirring until smooth and fully melted, to avoid burning the chocolate.
- → How long should the bites be frozen?
Freeze the mixture for at least one hour to set before coating with chocolate, then freeze again for a minimum of one hour to fully harden.
- → Can these treats be made vegan?
Substitute dairy cottage cheese with plant-based alternatives and use maple syrup to keep it vegan-friendly.