 Save
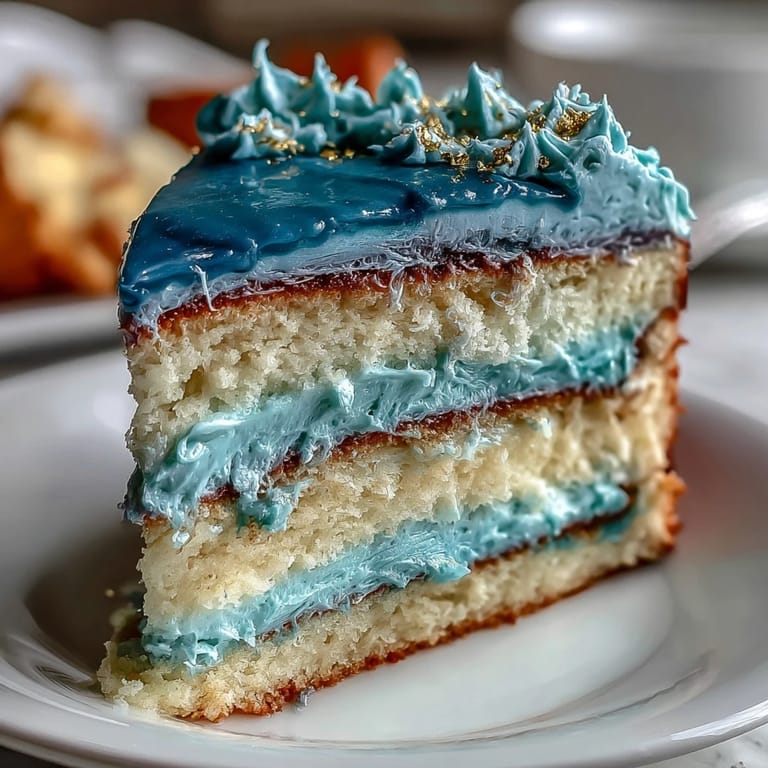
Save The scent of vanilla mingling with sweet butter always feels like the start of something festive. One spring afternoon, my kitchen became a swirl of blues and gold as I worked on a graduation cake, determined to make the centerpiece as memorable as the accomplishment it celebrated. I remember humming along to music, gently mixing the batter and watching the ombre colors come alive. The anticipation of unveiling those bold layers made the whole process feel electric. Decorating with edible gold felt decadent, and I couldn't resist sneaking a taste of the buttercream whenever no one was looking.
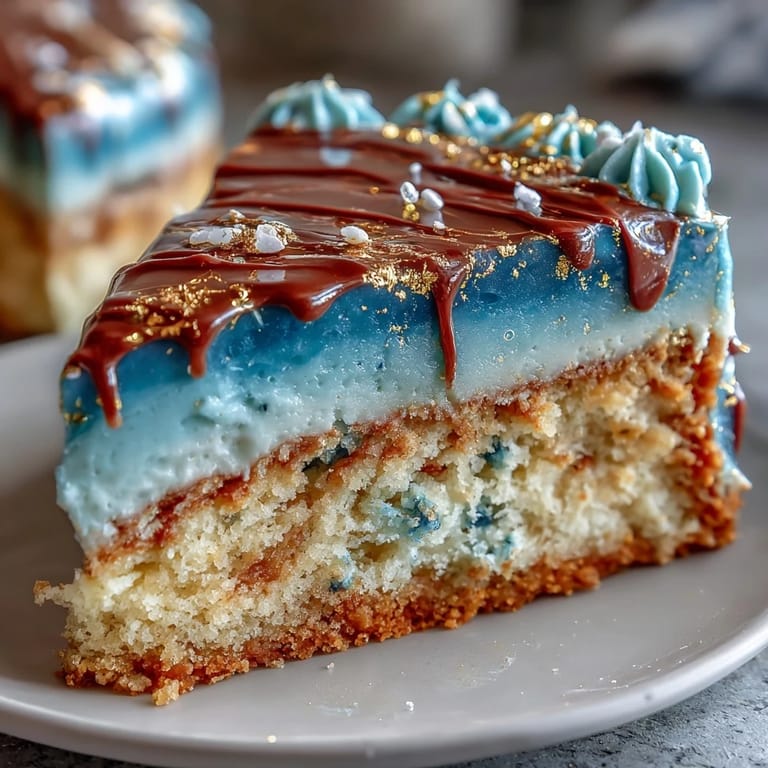
I made this cake for Jamie's graduation—the kitchen turned into a fun chaos with blue splatters and gold dust everywhere. The moment we sliced it, everyone paused, caught off guard by the stunning blue gradient. That little hush before applause made me realize how much joy a homemade cake brings to a celebration. Watching friends snap photos and savor the first bite felt like sharing more than just dessert—it cemented the evening in golden memories.
Ingredients
- All-purpose flour: Sifting helps avoid lumps and keeps the cake light—I've learned not to skip this step for perfect layers.
- Baking powder & baking soda: The right lift is essential, and measuring carefully means no sunken cakes.
- Salt: A pinch sharpens the flavors and balances the sweetness.
- Unsalted butter: Room temperature makes mixing easier and gives the cake a fluffy crumb.
- Granulated sugar: Creaming it thoroughly with butter sets the foundation for a tender cake.
- Eggs: Room temperature ensures even blending and a smooth batter.
- Pure vanilla extract: Adds warmth and depth—always use real vanilla for the best aroma.
- Whole milk: It’s the secret to a moist cake, so let it reach room temp before mixing.
- Blue gel food coloring: Gel colors provide bold hues without thinning the batter, and layering different shades creates the ombre effect.
- Powdered sugar: Sifting it gives buttercream a silky finish, preventing gritty frosting.
- Dark blue gel food coloring: For that striking final coat and dramatic look.
- Edible gold leaf or gold dust: Nothing celebrates like a little edible gold—be gentle when applying to keep it pristine.
- Clear alcohol (vodka or lemon extract): If using gold dust, it mixes smoothly and evaporates quickly.
Tired of Takeout? 🥡
Get 10 meals you can make faster than delivery arrives. Seriously.
One email. No spam. Unsubscribe anytime.
Instructions
- Prepare your pans and oven:
- Preheat oven to 350°F (175°C) and line three 8-inch pans with parchment—I've found a circle in the base plus a quick grease keeps cakes from sticking.
- Mix dry ingredients:
- Whisk flour, baking powder, soda, and salt until combined, enjoying the soft rustle as you work.
- Cream butter and sugar:
- Beat until pale and airy, pausing once in a while to scrape the sides—your mixer should sound like it's working hard but happy.
- Add eggs and vanilla:
- Blend eggs one by one, mixing gently until smooth, then stir in vanilla for a fragrance that fills the kitchen.
- Combine dry and wet:
- Alternate flour mix and milk, starting and ending with flour; stir slowly, just enough to blend, so the cake stays tender.
- Divide and color batter:
- Separate batter into three bowls; tint each with blue gel, creating a gradient for an ombre look—be fearless with shades but gentle with mixing.
- Bake the layers:
- Pour colored batters into pans, smooth the tops, and bake about 25–30 minutes; your kitchen will smell inviting and cakes will bounce back when pressed.
- Cool the cakes:
- Let them rest in pans for 10 minutes, then transfer to racks—resist the urge to peel off parchment before fully cooled.
- Make the buttercream:
- Beat butter until creamy, add powdered sugar in batches, and mix vanilla plus a splash of milk or cream—you'll hear a gentle swoosh as it becomes fluffy.
- Color and reserve buttercream:
- Save one cup plain for crumb coating; tint the rest deep blue for the final look and a dramatic touch.
- Level and stack layers:
- Trim cakes if needed, then layer dark to light blue, spreading buttercream between each for smooth seams.
- Apply crumb coat:
- Brush a thin layer of plain buttercream all over; chill to seal in crumbs, making final frosting simple.
- Frost and blend colors:
- Spread dark blue buttercream, blending lighter shades near the top for ombre—swirl and smooth as you like, it’s forgiving.
- Decorate with gold:
- Apply gold leaf gently or brush on gold dust mixed with clear alcohol in streaks; it turns the cake instantly celebratory.
- Chill until ready:
- Keep the cake chilled, but bring to room temp before serving for best flavor and texture.
 Save
Save When we gathered around the dining table, laughter bounced off the walls and the cake's gold shimmer stole the show. Slicing through those layered blues, I watched the graduate's grin widen—this cake had become a part of marking that joyous moment, not just dessert.
How To Tame Food Coloring
I used to worry about overdoing the blue, but adding color gradually lets you adjust until it matches just right. Don’t be afraid to experiment—a tiny drop of navy in each bowl can make the gradient vivid without overpowering the flavors.
Buttercream Troubleshooting
Buttercream can sometimes get too soft if the kitchen is warm or you add too much liquid. In those cases, chill it briefly in the fridge; the texture becomes easier to spread and you avoid frustrating drips down the cake sides.
Gold Decorations Without the Fuss
Applying edible gold leaf scared me at first, but using a small, dry brush and steady hands keeps it from tearing. If you use gold dust, mixing it with a bit of vodka or lemon extract helps it paint on smoothly for perfect accents.
- Wear gloves for flawless gold application.
- Use a soft brush, not your fingers, to move gold leaf.
- Keep decorations away from humid air to prevent melting.
 Save
Save Celebration cakes are more than a recipe: they’re a memory you slice and share. Let this ombre creation turn your next milestone into something spectacular—and utterly delicious.
Recipe FAQs
- → How do you achieve the ombre effect in the cake layers?
Tint each cake batter portion with varying amounts of blue gel food coloring before baking, creating a gradient from light to dark blue.
- → What gives the cake its elegant gold accents?
Edible gold leaf or gold dust mixed with clear alcohol is applied in streaks or on edges for a luxurious finish.
- → Can the buttercream be colored for additional effect?
Yes, the buttercream is tinted with dark blue gel coloring and can be blended with lighter shades toward the top for an ombre look.
- → What tools are helpful for assembling and decorating this cake?
Three round cake pans, an electric mixer, offset spatula, mixing bowls, parchment paper, and optionally a cake turntable make assembly easier.
- → Are there alternative decorations for graduation themes?
Graduation toppers, chocolate stars, or fresh berries can be used for personalized decoration while maintaining celebration spirit.
- → What allergens are present in this celebratory cake?
The cake contains wheat (gluten), eggs, and milk (dairy). Some gold decorations may add other allergens, so check packaging.