 Save
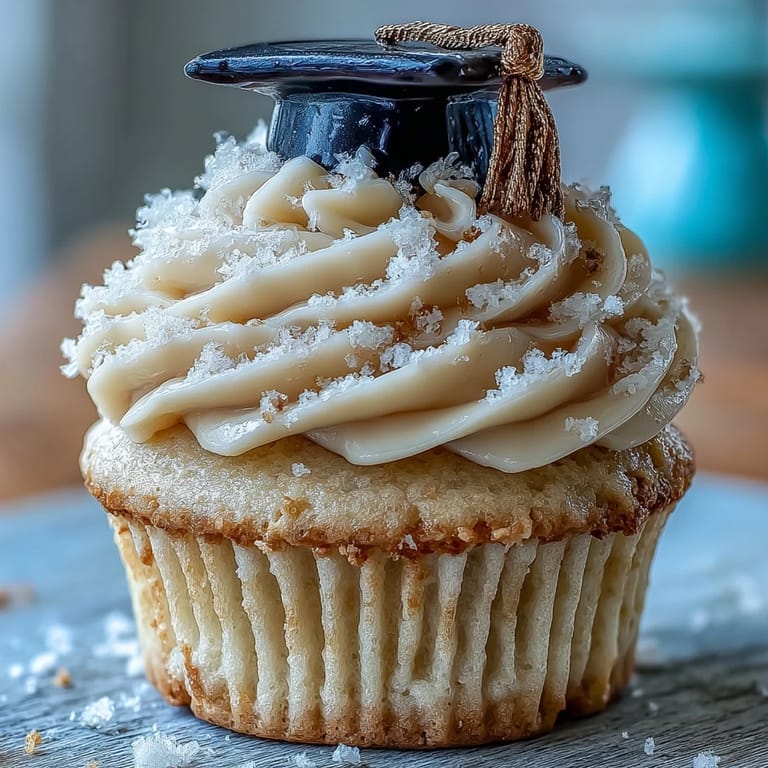
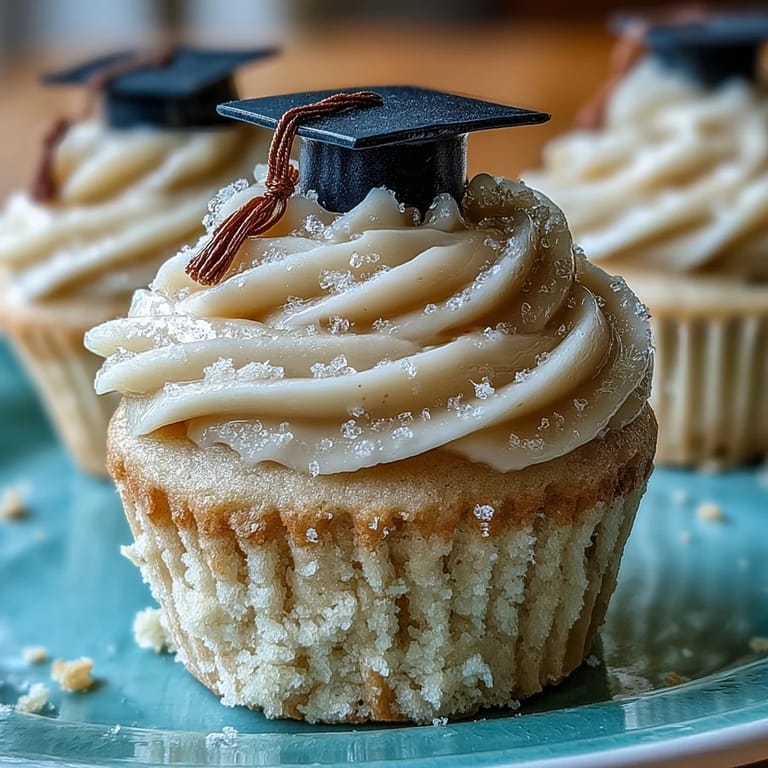
Save One humid June afternoon, our kitchen buzzed with energy as laughter and pop music filled the air between mixing bowls and clouds of powdered sugar. I found myself dusted with flour and trying to convince fondant to behave—there's something both playful and ceremonial about crafting graduation cupcakes, each topped with a tiny cap fit for an edible celebration. I never expected how a simple batch of cupcakes could become the centerpiece of a milestone, but these are no ordinary desserts. Their charm lies not just in the fondant artistry, but in the sense of achievement you feel watching someone take a proud bite, tassel and all. Sometimes, baking is about marking the end of one journey and the anticipation of the next, all in a single golden swirl.
The last time I made these, my cousin burst into tears (the happy kind) when she realized I’d matched the cupcake tassels to her school colors. We shared giggles over imperfect fondant squares while the buttercream threatened to melt and our hands, sticky with sugar, made clinking noises on every tool we set down in the warm kitchen.
Ingredients
- All purpose flour: Get the fluffiest crumb by gently spooning flour into the cup and leveling it—packed flour leads to heavier cupcakes.
- Baking powder: This lifts the cupcakes just enough for a pleasing dome—double check it’s fresh for best rise.
- Salt: A tiny amount makes the sweetness pop without ever being salty.
- Unsalted butter: Room temperature is key here, so it creams smoothly into the batter and frosting alike.
- Granulated sugar: I’ve learned that creaming this thoroughly with butter is what gives you that bakery style tenderness.
- Eggs: Add them one at a time and your batter stays silky and even—cold eggs can cause it to split slightly.
- Vanilla extract: Real vanilla has a warmth that shines in both cake and frosting, and I never skip it.
- Whole milk: Using full fat milk always gives a richer, more satisfying cake texture.
- Powdered sugar: Sift it for lump free, cloud like buttercream—skipping this step tends to make frosting gritty.
- Black fondant: Knead it until pliable, and be ready to dust off your hands often—black picks up every fingerprint.
- Gold fondant: Roll it gently and work quickly; it can dry out and crack if over handled under warm kitchen lights.
- Edible gold dust: This turns ordinary caps into something worthy of a photo and always gets oohs and aahs from guests.
- Cornstarch: Prevents sticking when rolling fondant and keeps the colors true.
- Edible adhesive or water: Less is more—too much and the fondant gets messy, but just a dot holds things perfectly in place.
Tired of Takeout? 🥡
Get 10 meals you can make faster than delivery arrives. Seriously.
One email. No spam. Unsubscribe anytime.
Instructions
- Prep your station:
- Crank the oven to 350°F 180°C, gather your liners, and clear some space—things get sticky fast.
- Sift and mix:
- Inhale the soft flour cloud as you whisk together flour, baking powder, and salt; you’ll want every bit combined so the cakes bake up evenly.
- Creaming melody:
- The sound of the mixer beating butter and sugar until it's pale is oddly satisfying; scrape down the bowl, then add eggs one by one, finishing with the rich touch of vanilla.
- Combine gently:
- Alternate adding the dry mix and milk to the wet, stirring just enough to blend—a few lumps are your friends here.
- Bake to golden:
- Spoon batter into liners, filling each about two thirds full and smoothing the tops; the kitchen will start to smell like vanilla heaven as they bake for 18 to 20 minutes.
- Buttercream swirl:
- Beat soft butter, sifted sugar, milk, vanilla, and salt on high until it loses its dense look and fluffs; sneak a taste if you must.
- Fondant artistry:
- Lightly dust your counter with cornstarch, then roll black fondant out thinly and cut into neat little squares for the cap tops.
- Cap assembly:
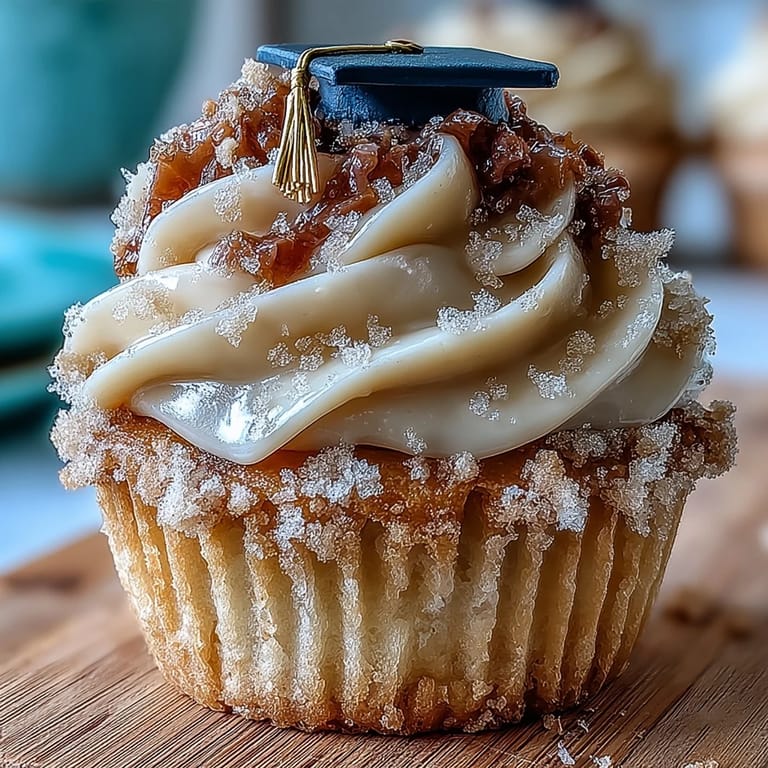
- Shape tiny black balls for the bases and gently flatten; attach the fondant squares using a dab of water and marvel as little graduation caps appear.
- Tassel magic:
- Roll gold fondant into slender ropes, snip to tassel length, and fix them atop the caps, adding a dot for the button and brushing with gold dust if you’re fancy.
- Dress up and serve:
- Pipe generous rosettes of buttercream onto cooled cupcakes, perch one fondant cap on each, and try not to smile too much as you serve.
 Save
Save  Save
Save When the last cupcake was topped, I stepped back to see the whole tray glint in the sunlight, rows of little edible mortarboards ready for their debut. The proud look on my friend's face as she carried them to the party made every moment of fondant fiddling worthwhile—a sweet applause for both baker and graduate.
Fondant Cap Shortcuts and Fixes
If your fondant starts drying and cracking before you finish, knead in just a touch of shortening and give yourself a break between rolling and shaping. I found that using the edge of a knife or a fondant tool helped me square off the caps cleanly, even if my early attempts were pretty lopsided. And honestly—the homemade look just makes them more endearing.
Making Cupcakes Ahead
Once, I made these cupcakes a day in advance and worried they’d turn stale, but tucked in an airtight container they turned out even softer the next day. If you need to freeze the cakes (unfrosted), they thaw quickly and taste as good as fresh—just hold off on fondant until you're ready to serve.
Customizing for the Big Day
I love that this recipe is a blank canvas: swap in chocolate cupcakes, dye the fondant for different school colors, or even sprinkle edible glitter over the buttercream for extra flair.
- A splash of almond extract in the frosting can be amazing for grownup grads.
- If you’re short on time, pre made fondant squares cut fast, and kids can help with colors.
- Make extras: these cupcakes always seem to disappear before you expect.
 Save
Save  Save
Save Bake these cupcakes to mark the milestones and achievements—they bring people together in celebration and taste just as sweet as the occasion itself. May your kitchen be filled with laughter and a little extra sparkle.
Recipe FAQs
- → How do I keep fondant from sticking while rolling?
Dust the work surface lightly with cornstarch and move the fondant frequently. Use a thin layer to prevent excess drying; add a touch more cornstarch only if it still sticks.
- → What's the best way to get silky buttercream?
Beat softened butter until very smooth before adding sifted powdered sugar in batches. Add a small splash of milk and beat on high until light and fluffy, scraping the bowl often.
- → Can I make the cupcakes ahead of time?
Yes—bake and cool the cupcakes fully, then store unfrosted in an airtight container for up to 24 hours. Frost just before serving for the freshest texture.
- → How should I store finished cupcakes?
Keep in an airtight container at room temperature for up to a day. If using dairy-heavy buttercream, refrigerate and bring to room temperature before serving to soften the frosting.
- → How can I fix runny buttercream?
Chill the bowl briefly and beat again; if still soft, add a little more sifted powdered sugar to thicken, or refrigerate for 10–15 minutes before piping.
- → What size should the fondant caps be and how to assemble them?
Cut 1.5 in (about 4 cm) squares for the tops and shape slightly flattened balls for the bases. Attach tops to bases with a dab of edible adhesive or water, then add thin gold ropes for tassels and a tiny button of fondant.