 Save
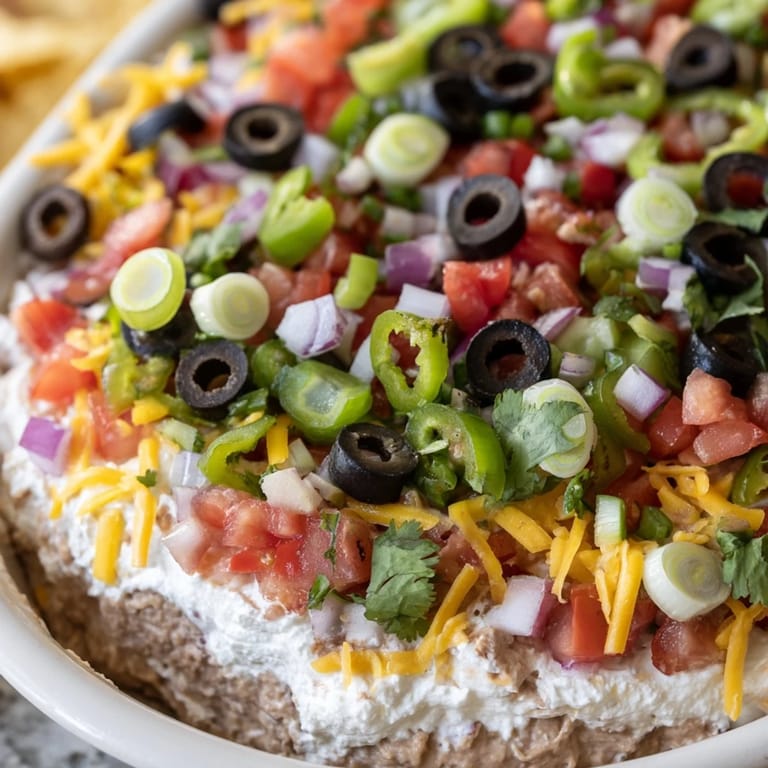
Save My neighbor brought this to a backyard barbecue last summer, and I watched the plate get scraped clean in about ten minutes. I leaned over the table, scooping up the last bit with a broken chip, and asked her how she made it. She laughed and said it was just layering things in the right order. The next weekend, I made my own version, and it disappeared even faster.
I started making this whenever friends came over unannounced. One time, I had everything except the olives, so I left them out, and nobody even noticed. Another time, I added a thin layer of guacamole under the cream, and people asked if I got it catered. It became my go-to because it always felt generous without requiring much effort.
Ingredients
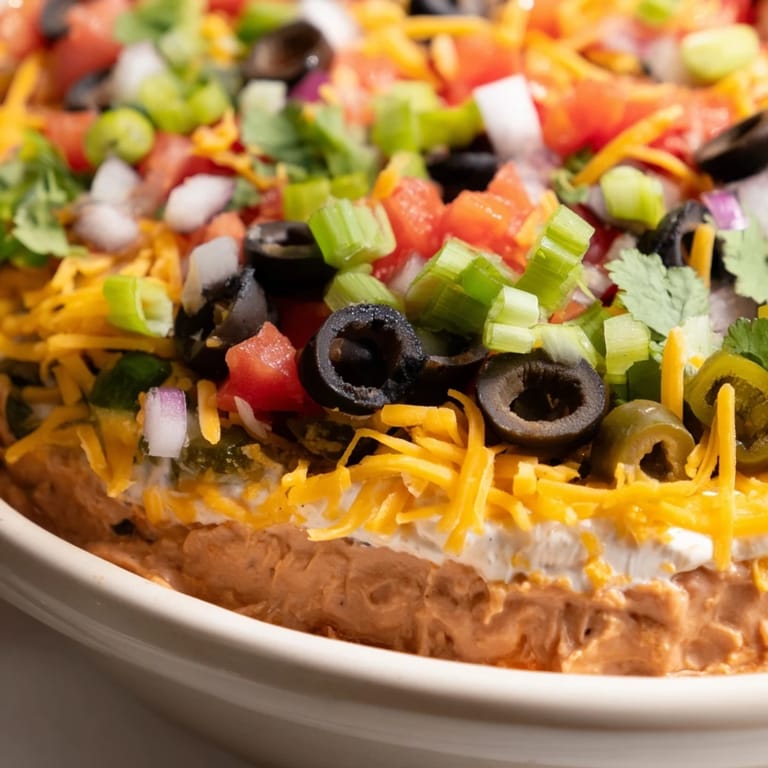
- Refried beans: The sturdy base that holds everything together, and the cumin and chili powder wake them up from the can.
- Sour cream and cream cheese: Blending these two creates a tangy, smooth layer that cools down the spice and adds richness.
- Lime juice: Just a tablespoon brightens the creamy layer and keeps it from feeling too heavy.
- Chunky salsa: Drain it well or the dip turns soupy, and make sure it has good texture for contrast.
- Fresh tomato, red onion, and cilantro: These add crunch and freshness that canned salsa alone cannot deliver.
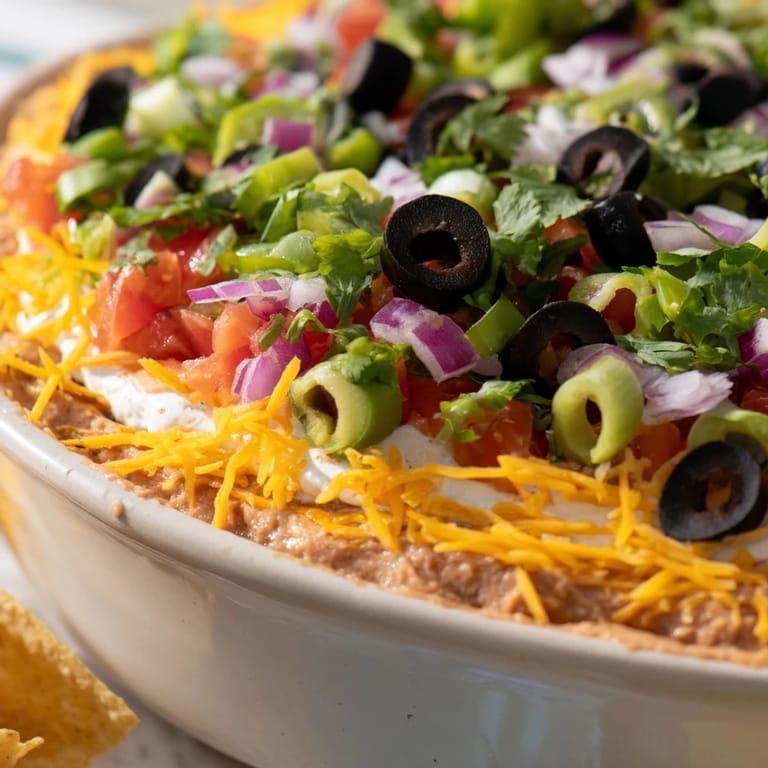
- Shredded cheddar cheese: It melts slightly as it sits and ties the top layer into the creamy middle.
- Black olives, green bell pepper, and green onions: The finishing touches that make every scoop colorful and full of flavor.
Tired of Takeout? 🥡
Get 10 meals you can make faster than delivery arrives. Seriously.
One email. No spam. Unsubscribe anytime.
Instructions
- Season and spread the bean base:
- Stir the cumin and chili powder into the refried beans until evenly mixed, then spread them across the bottom of your serving dish in a smooth, even layer. This is your foundation, so take a moment to make it flat.
- Blend and layer the creamy mixture:
- Whip together the sour cream, softened cream cheese, lime juice, and salt until it is completely smooth with no lumps. Gently spread it over the beans without disturbing the layer underneath.
- Prepare and add the salsa layer:
- Combine the drained salsa, diced tomato, red onion, and cilantro in a bowl, then spoon it carefully over the cream layer. Try to distribute it evenly so every serving gets some of everything.
- Finish with toppings:
- Sprinkle the shredded cheddar over the salsa, then scatter the olives, green bell pepper, and green onions across the top. Press them in lightly so they settle into the cheese.
- Chill and serve:
- Cover the dish and refrigerate for at least 30 minutes to let the flavors come together. Serve cold with sturdy tortilla chips or sliced vegetables.
 Save
Save One night, I made this for a small dinner party and forgot to chill it. We ate it anyway, and it was still good, but the layers were loose and messy. The next time, I made it in the morning and let it sit all day. When we served it that evening, every scoop held together perfectly, and people kept going back for more.
Making It Your Own
I have swapped the cream cheese for Greek yogurt when I wanted something lighter, and it worked beautifully. If you like heat, add sliced jalapeños on top or stir some into the salsa layer. Once, I added a thin layer of mashed avocado between the beans and the cream, and it became the star of the whole dish.
Serving and Storing
This dip is best the day you make it because the vegetables stay crisp and the layers stay distinct. If you have leftovers, cover them tightly and refrigerate for up to two days. The texture softens a bit, but it still tastes great. I like to serve it with thick, salted tortilla chips, but cucumber slices and bell pepper strips work if you want something lighter.
What to Keep in Mind
The key to a good layered dip is patience with each step. Spread each layer gently so they do not mix together. Use a shallow dish so you can see all the colors when you serve it. If you are transporting it, keep it cold and covered until the last minute.
- Choose a clear glass dish if you want to show off the layers from the side.
- Let the cream cheese sit at room temperature for 20 minutes before mixing.
- Taste the bean layer before spreading it and adjust the spices to your preference.
 Save
Save This dip has become one of those recipes I do not think about anymore, I just make it. It is reliable, colorful, and always makes people happy.
Recipe FAQs
- → Can I prepare this dip ahead of time?
Yes, you can assemble it several hours in advance. However, it's best to add the fresh toppings like green onions and bell peppers just before serving to maintain their crispness and vibrant colors.
- → What can I substitute for cream cheese?
Greek yogurt works wonderfully as a lighter alternative to cream cheese. Use the same amount and mix it with sour cream for a similar creamy texture with fewer calories.
- → How do I make this dip spicier?
Add sliced jalapeños to the topping layer for extra heat. You can also increase the chili powder in the bean base or use hot salsa instead of mild salsa.
- → Can I add guacamole to this dip?
Absolutely! Spread a layer of guacamole between the bean layer and the creamy layer for a delicious variation. Add it just before serving to prevent browning.
- → What's the best way to serve this dip?
Serve with crispy tortilla chips or fresh vegetable sticks like carrots, celery, and bell peppers. Keep it chilled throughout your gathering for the best flavor and texture.
- → Is this dip gluten-free?
The dip itself is naturally gluten-free. However, if serving with tortilla chips, use certified gluten-free chips to ensure the entire dish remains gluten-free.