 Save
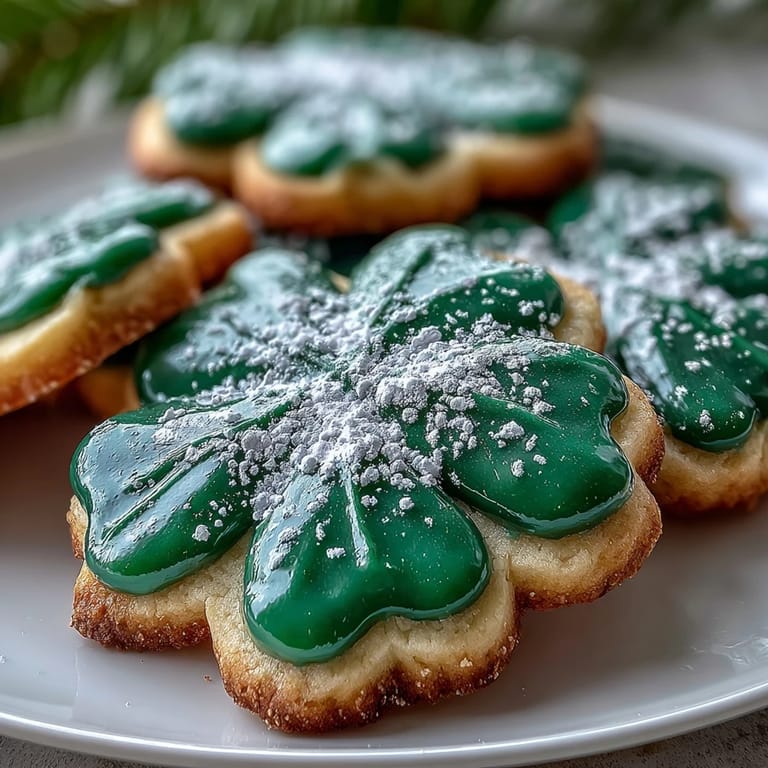
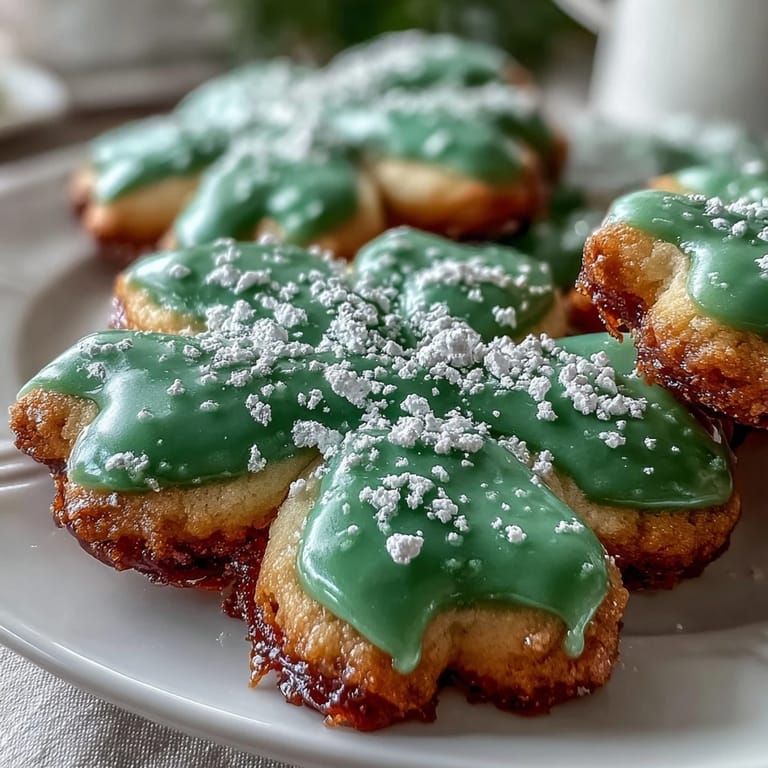
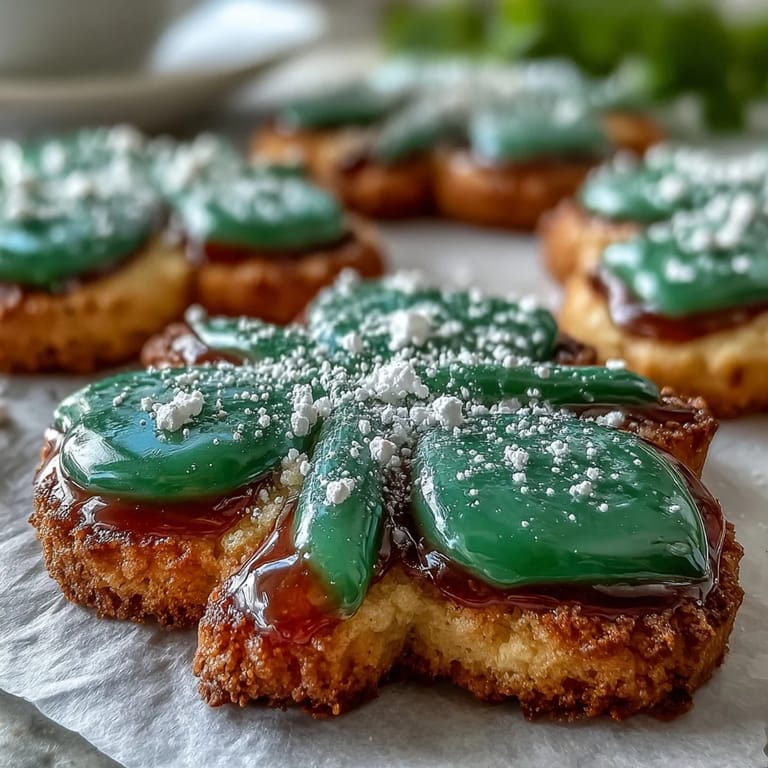
Save My neighbor knocked on the door three days before St. Patrick's Day with flour still dusting her apron, asking if I wanted to help her test a shamrock cookie recipe. We ended up spending the entire afternoon in her kitchen, piping green icing onto dozens of little cookies while her kids pressed their noses against the window, waiting for samples. That day taught me that these aren't just cookies—they're an excuse to gather, laugh at our wobbly icing lines, and create something that feels genuinely festive.
Last year I made these for my daughter's classroom party, and watching her beam as her classmates decorated their own shamrocks with green icing was worth every minute of preparation. She still talks about the sparkly green dust we sprinkled on top, how it caught the light when kids held them up to the window.
Ingredients
- Unsalted butter: Softened butter creams beautifully with sugar, creating that tender crumb that makes these cookies addictive—don't skip the softening step or you'll end up fighting your mixer.
- Granulated sugar: This is your sweetness anchor, so measure it level with a knife to avoid overly sweet cookies that make your teeth hurt.
- Large egg: One egg binds everything while keeping the texture delicate, not cakey like too many cookies become.
- Pure vanilla extract: The real thing matters here because almond gets all the attention, but vanilla is quietly doing the heavy lifting.
- Almond extract: Optional but it's what makes people ask what's different about these cookies—just a half teaspoon goes a long way.
- All-purpose flour: Measure by spooning and leveling, never by scooping straight from the bag, or your dough turns dense and tough.
- Baking powder: This gives you a slight lift so the cookies aren't hockey pucks, just soft and structured enough to hold icing.
- Salt: A tiny amount that makes the flavors sing without tasting salty.
- Powdered sugar: Sift it first because lumps will ruin your smooth icing no matter how hard you mix.
- Meringue powder: This stabilizes the icing so it sets hard and won't slide off during decorating or shipping—non-negotiable for these cookies.
- Warm water: Add it slowly because too much turns your icing into pudding and you'll have to start over.
- Green gel food coloring: Gel is less watery than liquid, so your icing stays thick and perfectly pipeable.
Tired of Takeout? 🥡
Get 10 meals you can make faster than delivery arrives. Seriously.
One email. No spam. Unsubscribe anytime.
Instructions
- Cream the butter and sugar into fluffy clouds:
- Beat them together for 2 to 3 minutes until the mixture looks pale and airy, like fluffy frosting. You'll hear the mixer working harder at first, then it smooths out as everything combines.
- Add the egg and extracts:
- Beat until the egg is fully incorporated and the mixture feels smooth. This is when your kitchen starts smelling like vanilla and almonds mixing together.
- Mix in the dry ingredients gently:
- Whisk flour, baking powder, and salt together first, then add to the wet ingredients slowly. Stop mixing the moment everything is combined or you'll develop gluten and end up with tough cookies.
- Chill the dough:
- Divide it in half, flatten into discs, wrap tightly, and refrigerate for at least an hour. This resting time matters because it prevents the cookies from spreading too much in the oven.
- Preheat and prepare your workspace:
- Get the oven to 350°F and line baking sheets with parchment paper while the dough chills. Having everything ready means you can work quickly once you pull the dough out.
- Roll and cut with patience:
- Work with one dough disc at a time on a lightly floured surface, rolling to about a quarter-inch thickness. The shamrock cutter will glide through smoothly, but if the dough resists, let it warm up for a minute.
- Bake until just golden:
- Watch them carefully between 8 and 10 minutes—you want barely golden edges, not brown ones. They'll firm up as they cool, so resist the urge to bake them longer.
- Cool completely before icing:
- Let them sit on the pan for 5 minutes to set, then transfer to a cooling rack. Warm cookies absorb icing unevenly, so patience here saves frustration later.
- Make the royal icing:
- Combine powdered sugar, meringue powder, and vanilla, then add water a tablespoon at a time while beating on low speed. You want peaks that hold their shape but still flow smoothly from a piping bag.
- Tint and pipe with intention:
- Add green gel food coloring a drop at a time, stirring until the color is even. Transfer to a piping bag and outline each cookie first, then flood the center with slightly thinner icing.
- Let icing set completely:
- This takes a couple hours, but it hardens into a beautiful shell that protects the cookie and makes packaging possible. Sprinkles work best if you add them while the icing is still tacky.
 Save
Save There's something deeply satisfying about watching someone carefully lift a shamrock-shaped cookie into a small box, seeing the green icing catch the light one more time before the lid closes. That moment when something you made with your own hands becomes a gift worth giving—that's when you know why people have been baking these for years.
The Secret to Perfect Royal Icing
The difference between icing that looks homemade and icing that looks professional comes down to one thing: consistency. Too thick and it won't flow through your piping bag, too thin and it slides off the cookies like water. The moment you hit that sweet spot—where the icing holds a peak but still moves smoothly—you've got it. I learned this the hard way after two failed batches, but now I test it by piping a quick line on the counter before touching a cookie.
Flavor Variations Worth Trying
Once you've made this recipe once, you'll start imagining all the ways to change it without losing what makes these cookies special. Lemon zest brightens everything and feels springy, orange zest brings a subtle warmth that pairs beautifully with the icing, and a hint of peppermint extract in the icing itself creates something entirely different. I've also seen people add cream cheese to the icing for a slightly tangier taste, which honestly might be my favorite discovery yet.
Storing and Gifting Like a Pro
These cookies stay fresh in an airtight container for up to five days, which means you can bake them at a leisurely pace instead of all at once. The hard royal icing acts as a protective shell, so they travel well and look stunning when you package them in clear bags tied with green ribbon. I always make extra because they freeze beautifully for weeks, and there's nothing quite like pulling out homemade shamrock cookies in March when you need a little green luck.
- Stack them between parchment paper in an airtight container to prevent icing from chipping.
- Add a small packet of desiccant if you're shipping them, especially in humid weather.
- Label the container with the baking date so you use older batches first.
 Save
Save These shamrock cookies have a way of turning an ordinary afternoon into something worth remembering, whether you're baking them alone or surrounded by people you love. There's real magic in that moment when the icing sets and you finally see what you've created.
Recipe FAQs
- → What gives the cookies their shape?
A shamrock-shaped cookie cutter is used to create iconic festive shapes from the dough.
- → How is the royal icing prepared?
Royal icing is made by mixing powdered sugar, meringue powder, vanilla, and water until stiff peaks form, then tinted green.
- → Can the almond extract be substituted?
Yes, almond extract can be swapped for lemon or orange zest for a different flavor twist.
- → What is the key to soft cookies?
To keep cookies soft, avoid overbaking and remove them when edges begin to turn golden.
- → How long should the dough be chilled?
The dough should be chilled for at least one hour before rolling and cutting to ensure firmness.
- → Are these cookies suitable for vegetarians?
Yes, the cookies are vegetarian-friendly, using common baking ingredients without animal-derived gelatin.