 Save
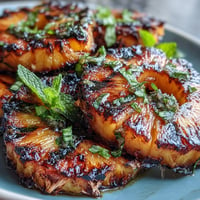
Save The first time I caught my roommate using a Ninja Creami, I thought she was making some kind of fancy smoothie contraption. But when she pulled out this creamy, protein-packed ice cream bowl that tasted like dessert but had the macros of a post-workout shake, I was hooked. Now it's become my go-to trick when I want something that feels indulgent but actually supports my fitness goals. It's the kind of recipe that makes you feel clever in the kitchen without any real fuss.
I made this for a friend who was stressed about hitting her macros during a cut, and watching her face light up when she realized it was both protein-dense and genuinely tasty made the whole eight-hour freezing time worth it. She's now made it at least a dozen times since, and it's become her answer to every "I'm hungry but trying to stay on track" moment.
Ingredients
- Greek yogurt or skyr (1 cup): This is your base—it brings creaminess and serious protein without needing ice cream in the traditional sense. Skyr is thicker and tangier, so pick whichever you prefer.
- Unsweetened almond milk (1 cup): Keeps things smooth and freezer-friendly; regular milk works too, but unsweetened almond milk doesn't get as icy.
- Protein powder (2 scoops, 60 g): Vanilla or chocolate are your safest bets, but I've experimented with birthday cake flavor and it gets interesting—just make sure it's one you actually enjoy eating.
- Maple syrup or sweetener (1–2 tablespoons): Taste as you blend; you don't need much, and it makes a difference in how smooth the final texture is.
- Vanilla extract (1 teaspoon): A small amount amplifies everything without overpowering the protein flavor.
- Salt (pinch): Balances sweetness and makes the whole thing taste less like a supplement shake.
Tired of Takeout? 🥡
Get 10 meals you can make faster than delivery arrives. Seriously.
One email. No spam. Unsubscribe anytime.
Instructions
- Blend until silky:
- Combine your yogurt, almond milk, protein powder, sweetener, vanilla, and salt in a blender. Blend until completely smooth—any lumps of protein powder will freeze unevenly and create icy pockets.
- Pour and level:
- Transfer to your Ninja Creami pint container (or any freezer-safe container) and make sure the surface is level; this helps it freeze evenly and spin properly.
- Freeze overnight:
- Pop it in the freezer for at least 8 hours, preferably overnight. Patience is the only real cooking step here.
- Machine magic:
- Remove the pint from the freezer, install it in your Ninja Creami, and run it on Ice Cream mode according to the machine's instructions. If you don't have a Creami, you can scoop it out with a sturdy spoon or let it sit for a few minutes to soften slightly.
- Texture check and spin:
- If it's too thick, re-spin it or add a small splash of milk and spin again for something softer. This is where you dial in exactly how you like it.
- Top and serve:
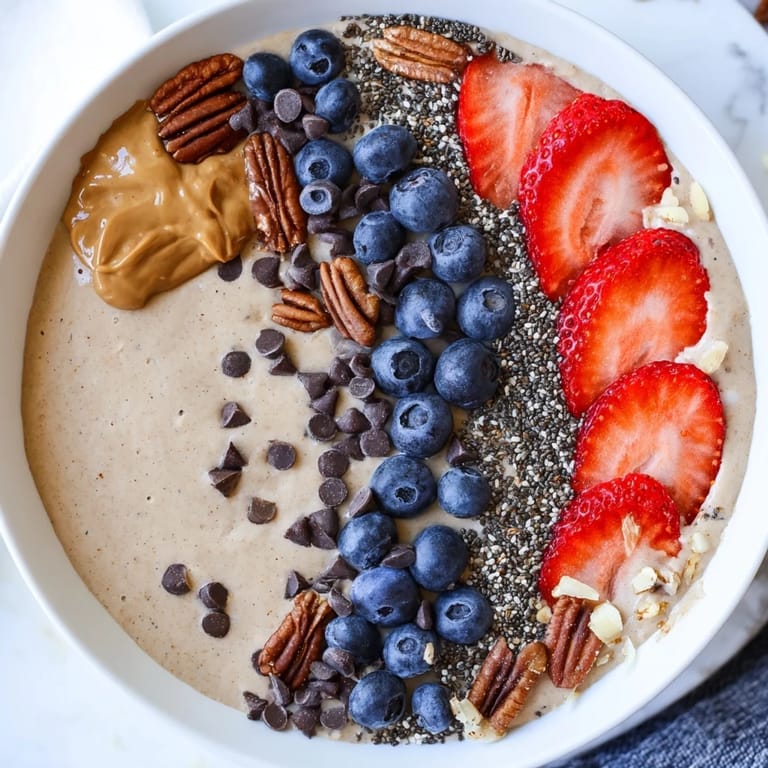
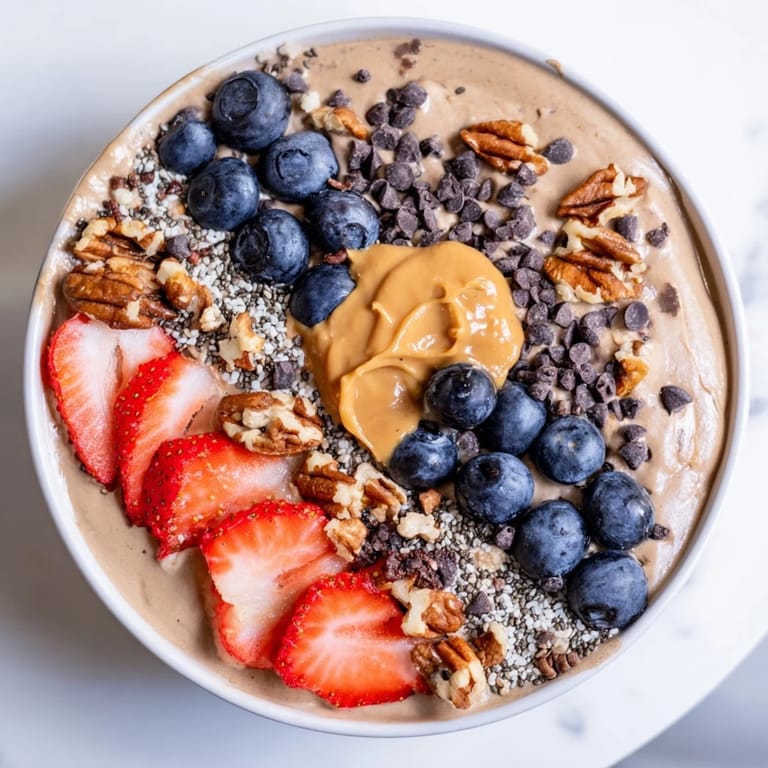
- Scoop into a bowl and layer on berries, nut butter, chocolate chips, nuts, or seeds. Eat it immediately while the texture is still perfect.
 Save
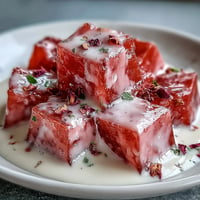
Save There's a moment when you pull this out of the freezer and it transforms from a block into something that feels almost luxurious—that's when it stopped being just a "healthy snack" and became something I actually craved. It proved to me that eating for your goals doesn't mean sacrificing the simple pleasure of a cold, creamy bowl.
Flavor Variations Worth Trying
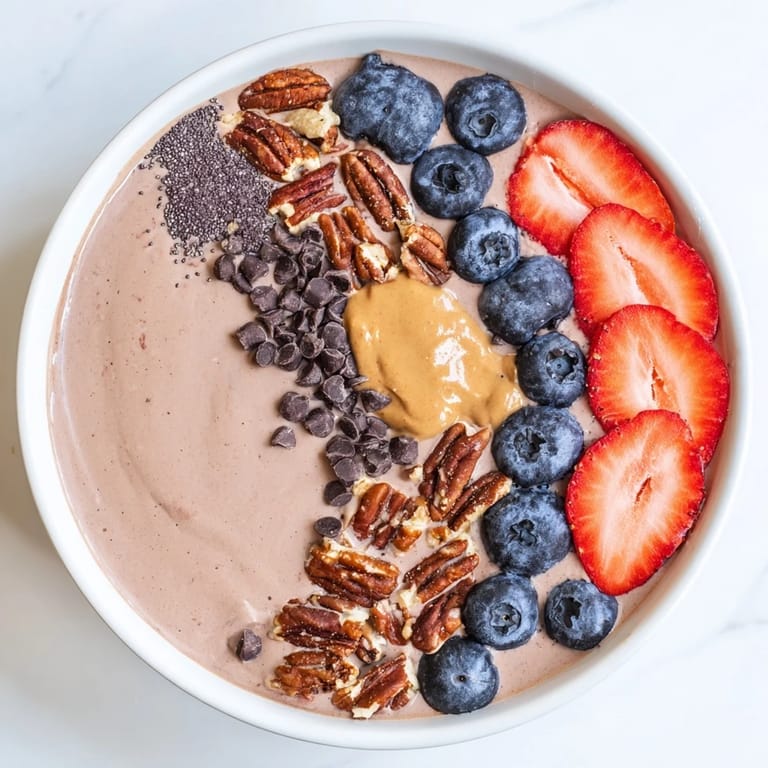
Once you've made the vanilla version, you'll start experimenting. A tablespoon of cocoa powder mixed into the base becomes a chocolate dream. A teaspoon of instant coffee powder adds a mocha angle that's subtle but shifts the whole vibe. Fruit purees—strawberry, mango, or even a tablespoon of jam swirled in—turn it into something that feels more like a real dessert without adding much bulk.
The Topping Strategy
The toppings are where you get to make it feel custom and special each time. I've learned that a spoonful of peanut butter on warm ice cream creates this contrast that feels almost gourmet, and dark chocolate chips melt just enough into the cold base to taste indulgent without being overwhelming. The seeds add texture and a subtle nutritional boost that makes you feel like you're really taking care of yourself.
Storage and Make-Ahead Tips
These freeze beautifully for up to two weeks in a sealed container, so you can batch-make them and have ready-to-spin options waiting. I often prep these on Sunday and use them as my grab-and-go breakfast or post-workout reward throughout the week. It turns a simple breakfast or snack into something that feels intentional and a little bit special.
- Make two or three pints at once and keep them on hand for those moments when you want something fast but satisfying.
- If the mixture starts to separate slightly after sitting, just give it a quick stir before pouring into the container.
- Label your container with the date if you're batch-prepping; they stay creamy and delicious for up to two weeks.
 Save
Save This is the kind of recipe that bridges the gap between what your body needs and what your taste buds actually want. Once you make it, you'll understand why it's become such a go-to in my kitchen.
Recipe FAQs
- → What ingredients create the creamy texture?
Greek yogurt and almond milk provide a smooth, creamy base, while protein powder adds richness and body.
- → How long should the mixture be frozen?
Freeze the blended mixture for at least 8 hours or overnight to ensure it is fully solid before processing.
- → Can I customize the toppings?
Absolutely, toppings like fresh berries, nut butters, chocolate chips, and seeds are great options to personalize flavor and texture.
- → Is there a vegan alternative?
Yes, use plant-based yogurt and vegan protein powder to create a dairy-free and vegan-friendly version.
- → How can I adjust sweetness?
Maple syrup or other sweeteners can be added or omitted based on your preference for natural sweetness.
- → What equipment is needed to prepare this bowl?
A blender to combine ingredients and a freezer-safe container for freezing are essential. An ice cream maker like Ninja Creami is optional for texture refinement.