 Save
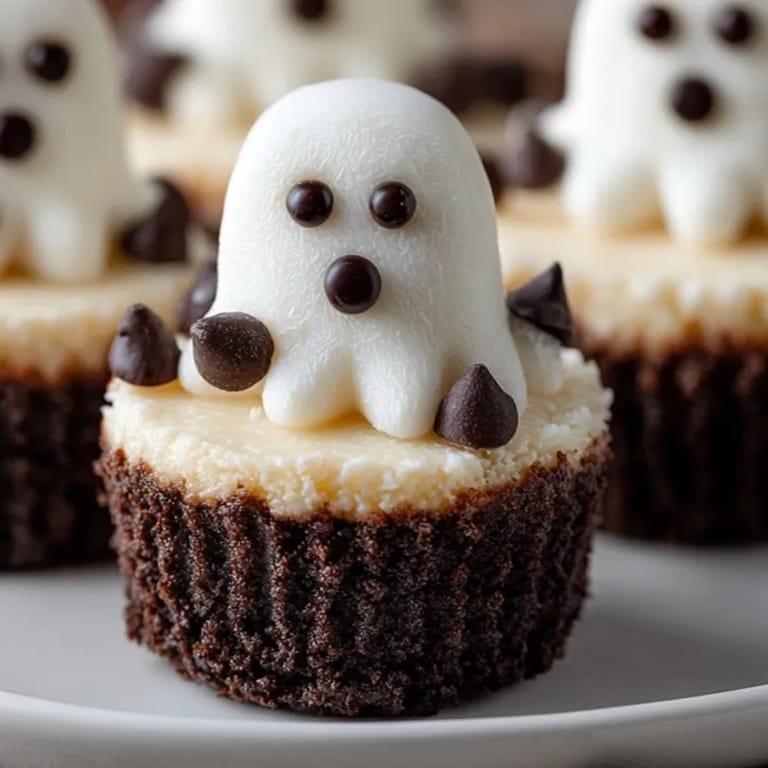
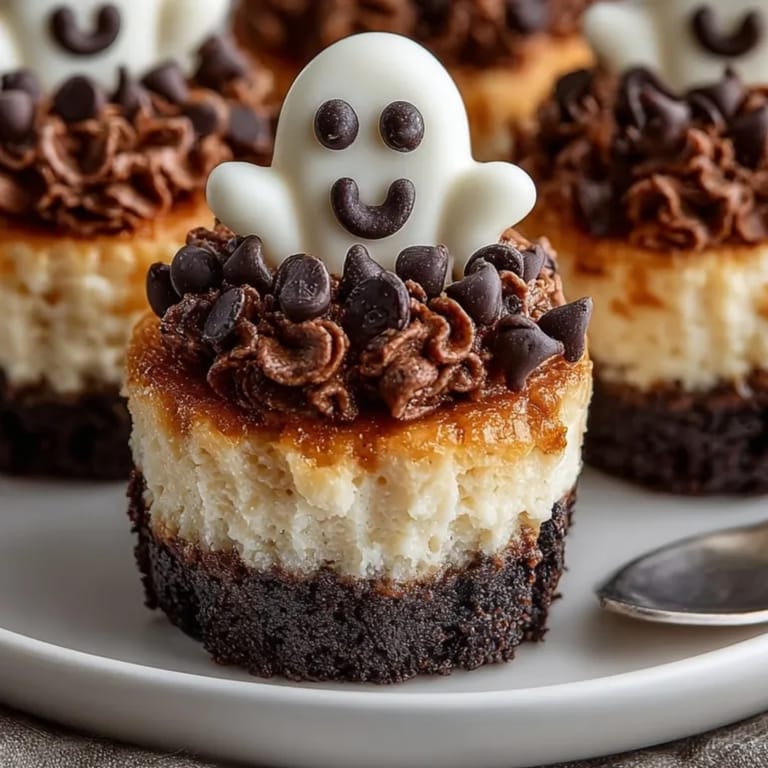
Save Mini Ghost Cheesecake Cups are an instant party hit for Halloween or any fun gathering. These satisfy every sweet tooth with a rich cream cheese filling on a crisp chocolate cookie base, and the playful white chocolate ghosts on top always make guests smile. Their bite-sized format means zero fuss when serving and easy clean-up afterwards.
Each time I bring out a tray of these, kids light up with excitement and adults sneak seconds. The ghost decorations turn an ordinary treat into something memorable for any holiday spread.
Ingredients
- Chocolate sandwich cookies: Finely crush these for the crust. Pick fresh cookies for the deepest flavor and avoid stale ones for best texture
- Unsalted butter: Provides richness and helps bind the crust. Use good butter for the most luscious base
- Cream cheese: Go for full-fat blocks for maximum creaminess and structure
- Granulated sugar: Adds classic sweetness. Opt for superfine if you want an ultra-smooth filling
- Egg: Binds the filling and helps it set. Select a fresh large egg for best results
- Vanilla extract: Deepens flavor and aroma. Pure vanilla brings out the best taste
- Sour cream: Gives filling tang and silky finish. Always use fresh sour cream for top results
- Pinch of salt: Enhances flavors overall. Sea salt works well here
- White chocolate: Melts smooth for decorating. The best quality makes ghosts glossy and easy to shape
- Mini chocolate chips: Tiny size is perfect for ghost eyes. Pick semi-sweet for clear contrast
- Regular chocolate chips: Halved for cute ghost mouths. Also use semi-sweet or dark for best definition
Tired of Takeout? 🥡
Get 10 meals you can make faster than delivery arrives. Seriously.
One email. No spam. Unsubscribe anytime.
Instructions
- Prep the baking tin:
- Preheat your oven to 160 degrees Celsius or 325 degrees Fahrenheit. Line all twelve slots of a mini muffin tin with paper liners to keep the cheesecakes from sticking and make serving simple
- Make the cookie crusts:
- In a medium bowl combine finely crushed chocolate cookies and melted unsalted butter fully. Mix with a fork until all crumbs look evenly moistened. Use about one tablespoon of this mixture per muffin cup pressing firmly with your fingers or the bottom of a small glass so the crust is dense and even
- Bake the crusts for crunch:
- Place the tin in the oven for five minutes. This firms up the base and gives extra crunch. Remove and let them cool slightly before filling
- Prepare the cheesecake filling:
- In a large bowl beat cream cheese and sugar together until velvety smooth and fluffy. Be patient and scrape the bowl to avoid lumps. Add a fresh egg vanilla extract sour cream and a pinch of salt and gently mix in by hand or on low speed just until combined for a tender set
- Fill and bake the cheesecakes:
- Divide your creamy mixture evenly over the crusts using a heaping tablespoon for each. Smooth the tops gently. Bake thirteen to fifteen minutes until edges are set but the centers still jiggle slightly meaning they’re perfectly cooked
- Cool and chill for structure:
- Let the cheesecakes cool in the tin for twenty minutes before removing them to a wire rack. Refrigerate for at least forty-five minutes so they firm up and are easier to decorate
- Melt chocolate for decorating:
- Place chopped white chocolate in a microwave-safe bowl and heat in short twenty-second increments stirring well between each until completely smooth and glossy
- Create the ghost decorations:
- Pipe or spoon a generous dollop of melted white chocolate onto each chilled cheesecake forming a ghost shape with a rounded top and playful tail. Work one at a time for best results
- Make eyes and mouths:
- While the white chocolate is still soft gently press mini chocolate chips into each ghost for eyes and add halved regular chips as tiny mouths. Let the chocolate set in the fridge so the design stays in place
- Ready to serve:
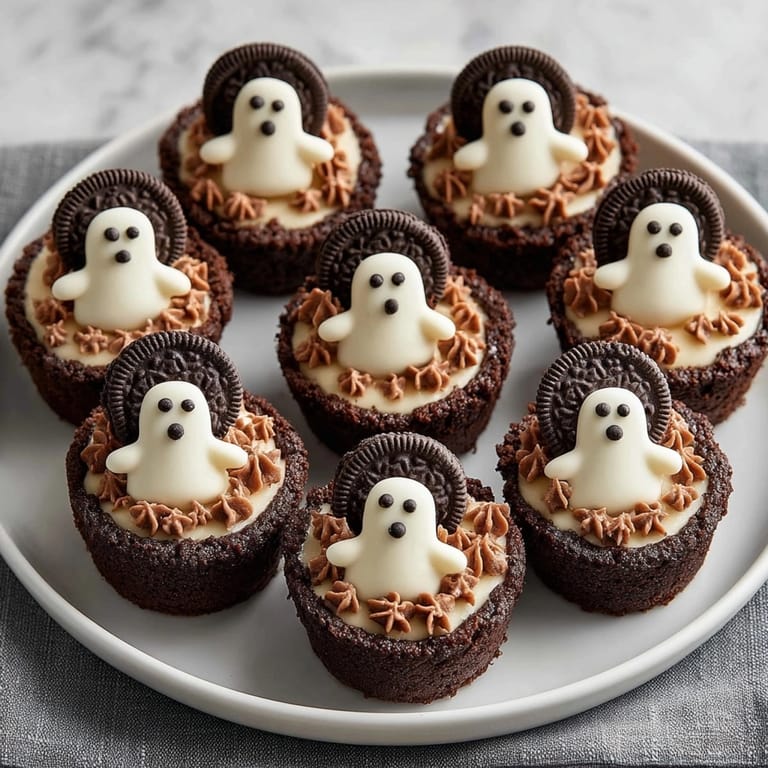
- Transfer to a tray and serve chilled for best texture and clean lines. Enjoy the festive look and creamy bite
 Save
Save These mini cheesecakes always spark laughter at family gatherings. Watching my children help pipe on the chocolate ghosts is now a treasured autumn tradition and seeing their creative ‘scary faces’ keeps each batch unique.
Storage Tips
Store leftover cheesecakes in a covered container in the refrigerator for up to three days. Only add the ghost decorations after chilling so they stay crisp. If you want to freeze them wait to decorate until thawed and ready to serve
Ingredient Substitutions
You can swap chocolate sandwich cookies for any chocolate wafer or gluten free alternatives for dietary needs. For decoration vanilla candy melts work well as a replacement for white chocolate and mascarpone can sub in for cream cheese for a lighter flavor
Serving Suggestions
Arrange cheesecakes on a big platter with spooky props or Halloween candies for extra fun. For an autumn dessert spread pair with hot chocolate or pumpkin punch. These doubles as lunchbox surprises for kids or sweet party favors
 Save
Save Make Halloween hosting memorable with these playful cheesecakes. You’ll love how easy they are to prepare and the festive joy they bring to your table.
Recipe FAQs
- → Can I use a different cookie for the crust?
Absolutely! Graham crackers or chocolate wafers work well as alternatives to chocolate sandwich cookies.
- → How do I achieve smooth ghost shapes?
Use melted white chocolate and either pipe or spoon onto each cheesecake, shaping with a rounded dollop and a tapered tail.
- → Can I make these ahead of time?
Yes, you can prepare cheesecakes a day ahead and decorate with ghosts before serving for best texture and appearance.
- → Are these suitable for vegetarians?
Yes, these mini cheesecakes are vegetarian-friendly. Just check all ingredient labels for compatibility.
- → How should I store leftovers?
Keep them in an airtight container in the refrigerator for up to three days. Serve chilled for best flavor.
- → Can I substitute white chocolate for decorating?
Vanilla candy melts can be used instead of white chocolate, giving similar results for ghost shapes on top.