 Save
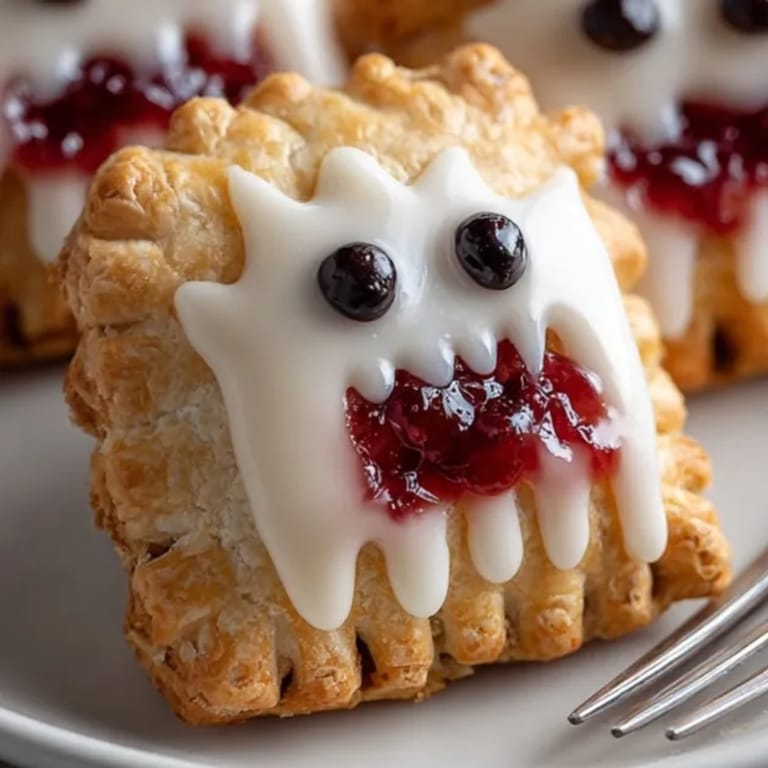
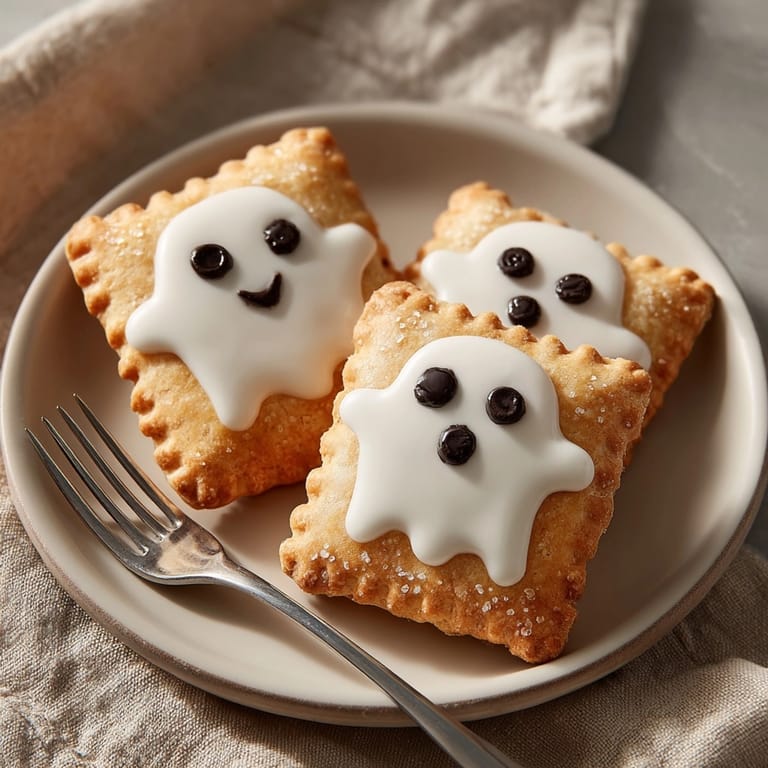
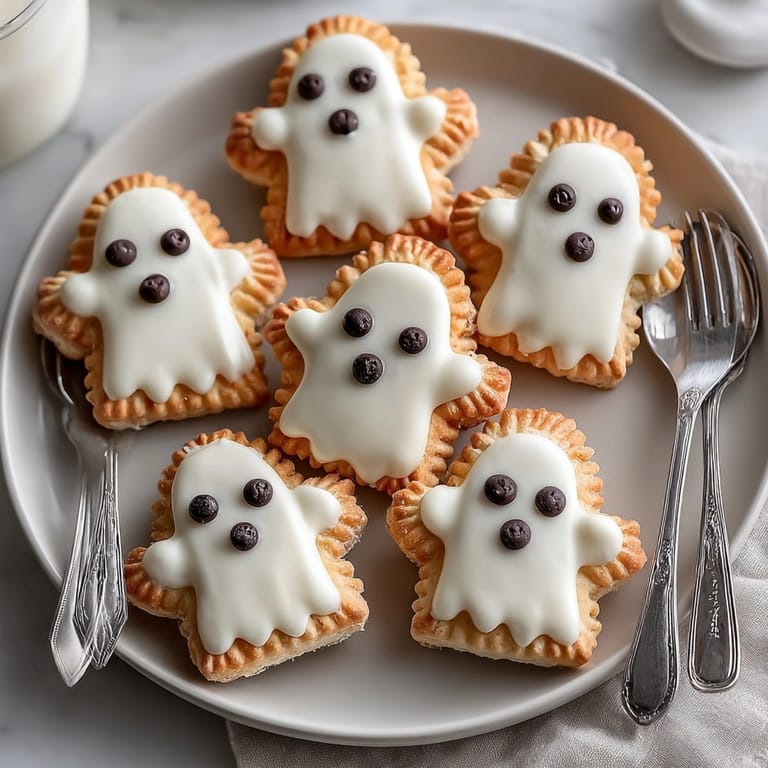
Save These Homemade Ghost Pop-Tarts are my go-to Halloween treat for both kids and adults—playful little pastries with flaky crusts, sweet jam centers, and whimsical ghost faces. They always add fun and excitement to our autumn get-togethers, and nobody can resist reaching for seconds.
I first made these for a trick-or-treat afterparty when my oldest was five. Now the decorating part is a full family affair with everyone crafting their own ghostly expressions.
Ingredients
- All-purpose flour: provides the structure and crispness in the pastry. Choose unbleached flour for best flavor and texture.
- Granulated sugar: adds just a hint of extra sweetness to the dough which makes the crust both tender and flavorful.
- Salt: sharpens all the other flavors. A fine sea salt works beautifully here.
- Unsalted butter: gives the crust richness and flakiness. Using cold butter is essential for tender layers.
- Ice water: helps bring the dough together and controls the texture. Make sure the water is truly ice cold.
- Fruit jam or preserves: fill the tarts with sweet fruity notes. Strawberry and raspberry are classic but apricot adds a lovely tang. Pick jams with visible fruit pieces for best results.
- Powdered sugar: creates a smooth glossy icing that sets up beautifully on the cooled pop-tarts.
- Milk: brings the icing together and gives an appealing sheen. Whole milk will yield the smoothest finish.
- Vanilla extract: gives warmth and complexity to the icing’s sweetness. Choose pure vanilla for the richest flavor.
- Mini chocolate chips or black decorating gel: finishes off the ghostly faces. Choose chips that are uniform in size for sharp features.
- Required tools: rolling pin which ensures an even crust ghost cookie cutter for easy shapes and parchment paper to prevent sticking.
Tired of Takeout? 🥡
Get 10 meals you can make faster than delivery arrives. Seriously.
One email. No spam. Unsubscribe anytime.
Instructions
- Make the Dough:
- Combine flour sugar and salt in a large bowl. Add cold butter cubes and work in with a pastry blender or fingers until you see pea-sized crumbs. This step controls the crust’s flakiness so keep the mixture cold and never overwork.
- Form and Chill Dough:
- Trickle ice water in one tablespoon at a time and gently mix just until the dough clumps together. Divide into two discs wrap snugly in plastic and refrigerate at least thirty minutes. Chilling relaxes the gluten and makes rolling easier.
- Roll and Cut Ghost Shapes:
- Dust the work surface with flour and roll each chilled dough disc to about an eighth-inch thickness. Use a ghost cookie cutter for shaped pastries or carefully cut shapes by hand if you want more creative ghosts.
- Fill and Seal Pop-Tarts:
- Arrange half the ghost shapes on a parchment-lined baking sheet. Spoon a tablespoon of jam into the center of each leaving space around the edges. Dab water around the border to help seal then top with a second ghost shape. Press and crimp the edges firmly with a fork so no jam leaks out during baking.
- Bake to Perfection:
- Transfer to the oven at 375 degrees. Bake eighteen to twenty minutes until edges turn golden and the scent fills your kitchen. Cool completely before icing to ensure the topping sets smoothly.
- Make and Apply Icing:
- Mix powdered sugar milk and vanilla in a small bowl until fully blended and smooth. Using a spoon or butter knife spread a generous layer atop each cooled ghost. Aim for even coverage so the faces pop.
- Decorate the Faces:
- Place mini chocolate chips or dab black gel for eyes and spooky smiles while icing is still fresh. Set aside until icing firms up to avoid smears.
 Save
Save Kids love customizing their own ghosts every year and these have become the centerpiece of our neighborhood Halloween dessert table. One rainy October we made a double batch and decorated for hours everyone left with sticky hands and happy memories.
Storage Tips
Store in an airtight container at room temperature for up to three days. If you want to keep the icing perfect layer wax paper between each pop-tart. These can be refreshed for ten seconds in the microwave but always let the icing set before stacking.
Ingredient Substitutions
Swap the fruit jam for lemon curd berry compote pumpkin butter or even Nutella for a richer treat. For gluten-free pastry use a blend meant for pie crusts and add extra chilling time.
Serving Suggestions
Arrange pop-tarts on a festive Halloween platter alongside mugs of spiced cider or hot chocolate. For extra drama drizzle icing in zigzag ghost trails. Kids love these tucked into lunchboxes or as edible craft projects for parties.
Cultural and Historical Context
Pop-Tarts have been iconic in American breakfasts since the 1960s but homemade versions bring everything up a notch especially around holidays. Ghost-shaped treats have long been symbols of playful Halloween spirit and these pastries are a modern twist on classic hand pies.
 Save
Save Make these Ghost Pop-Tarts part of your family’s Halloween traditions and enjoy the laughter and creativity they inspire. Every batch tells its own story—have fun and share your favorite ghost face designs.
Recipe FAQs
- → What fruit jams work best for filling?
Classic choices include strawberry, raspberry, and apricot. Feel free to experiment with your favorites or use spreads like Nutella or pumpkin butter.
- → Can I make these treats ahead?
Yes, once baked and decorated, they can be stored in an airtight container for up to three days without losing freshness.
- → Is it possible to make a vegan version?
Substitute butter with plant-based alternatives and use non-dairy milk for the icing to make these pastries vegan-friendly.
- → How do I ensure the ghost shapes come out well?
Use a ghost-shaped cookie cutter for precise shapes, or carefully cut freehand. Chilled dough helps maintain sharp edges during baking.
- → Can I add spices for extra flavor?
Adding a pinch of cinnamon to the dough or a hint of nutmeg to the filling adds warmth and enhances the festive taste.
- → How to make the ghost faces?
Once icing is set, use mini chocolate chips or black decorating gel to create dot eyes and playful mouths for each ghost.