 Save
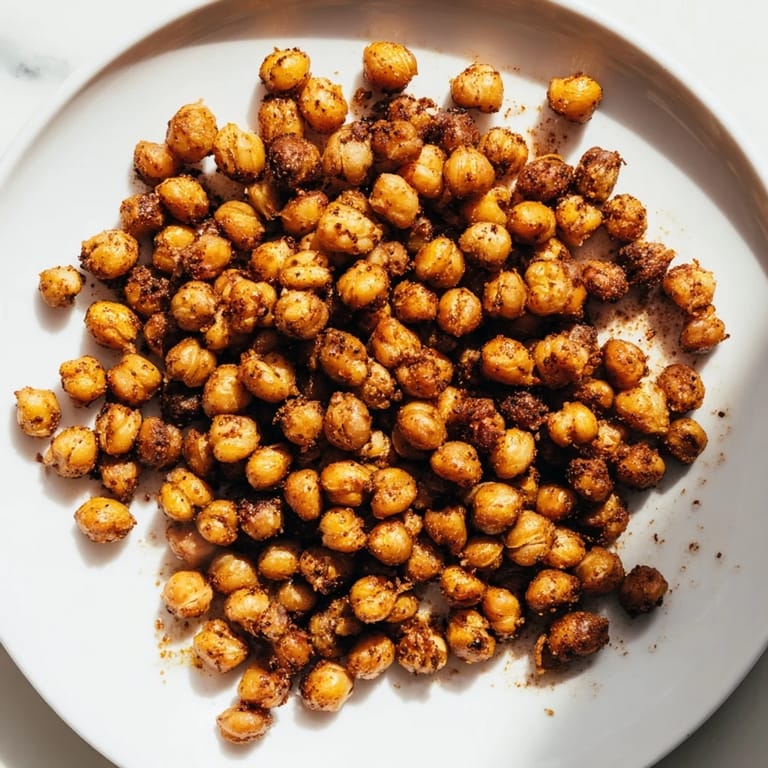
Save I discovered crispy chickpeas by accident on a Tuesday afternoon when I was hunting for something crunchy to eat between meetings. Instead of reaching for another bag of chips, I remembered a half-can of chickpeas languishing in my pantry and thought, why not? Twenty minutes later, my kitchen smelled like toasted spices and possibility, and I'd found my new favorite snack. That single batch changed how I think about pantry staples—suddenly everything felt like it had potential.
I brought a batch to a friend's house one evening, nervous about serving something so simple, but by the end of the night the container was empty and three people were asking for the recipe. That's when I realized the best snacks aren't the ones that impress—they're the ones that disappear.
Ingredients
- Chickpeas: One can, drained and rinsed thoroughly—those chickpeas need to be as dry as possible before they hit the oven, which is the secret to actual crispiness instead of chewy disappointment.
- Olive oil: Just two tablespoons to coat everything evenly and help the seasonings cling like they mean it.
- Sea salt: Half a teaspoon to wake up the other flavors without overpowering them.
- Smoked paprika: Half a teaspoon for a whisper of warmth and that toasted, slightly smoky note that makes people wonder what you did differently.
- Ground cumin: Half a teaspoon to add earthiness and depth.
- Garlic powder: A quarter teaspoon because fresh garlic would burn, but you still want that savory presence.
- Black pepper: A quarter teaspoon for a gentle kick and brightness.
- Cayenne pepper: A quarter teaspoon if you like heat—totally optional, but it transforms the whole vibe if you do.
- Nutritional yeast: A tablespoon if you want them to taste cheesy without any dairy involved.
Tired of Takeout? 🥡
Get 10 meals you can make faster than delivery arrives. Seriously.
One email. No spam. Unsubscribe anytime.
Instructions
- Heat your oven and prepare:
- Get your oven to 200°C (400°F) and line a baking sheet with parchment paper so nothing sticks and cleanup is painless.
- Dry the chickpeas thoroughly:
- This step matters more than you'd think—pat each chickpea with a clean kitchen towel until they're as dry as you can manage. Moisture is the enemy of crispiness.
- Coat with oil and seasonings:
- Toss the chickpeas in a large bowl with the olive oil and every seasoning, making sure every single one gets dressed evenly. This is where the flavor actually happens.
- Spread and roast:
- Arrange them in a single layer on your baking sheet and slide into the oven for 35 minutes, shaking the pan or stirring them every 10 minutes so they brown and crisp evenly.
- Cool and enjoy:
- Once they're golden and smell incredible, pull them out and let them cool for a few minutes—they'll keep crisping up as they cool down, so don't judge them while they're still warm.
 Save
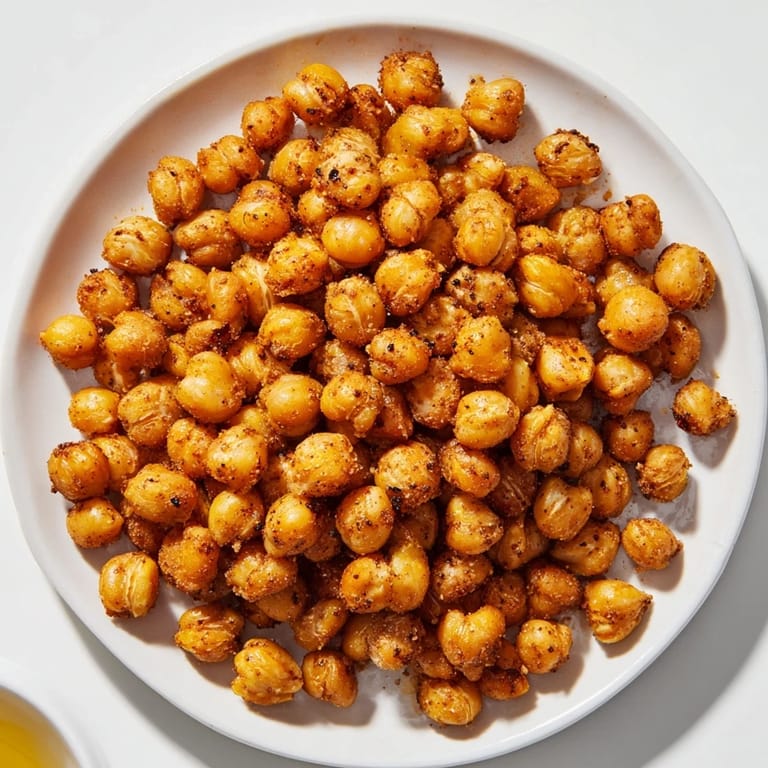
Save One night I brought these to a dinner party and watched someone's face light up when they realized they could eat an entire handful without guilt. That's the moment I stopped apologizing for simple recipes and started celebrating them instead.
Why This Works So Well
Chickpeas have this quiet ability to transform depending on what you do with them, and roasting them brings out a nuttiness that raw chickpeas could never offer. The high heat and the constant stirring aren't just technique—they're what turn a humble legume into something genuinely crave-worthy. Once you understand that dynamic, you'll find yourself roasting chickpeas for salads, grain bowls, and midnight snacking binges.
Flavor Combinations That Actually Work
The base seasoning is solid, but the fun part is experimenting with what you already have. I've done curry powder versions that tasted Indian, Italian herb blends that made them taste like breadcrumbs, and a chili-lime situation that my partner still asks about. The chickpea is basically a blank canvas, and any spice blend you love will translate beautifully.
Storage and Making Them Last
Let them cool completely before sealing them up in an airtight container at room temperature, and they'll stay crispy for three days—though honestly, they usually don't last that long. The key is keeping them truly sealed away so they don't absorb humidity from the air. I've learned this the hard way by leaving the container open overnight.
- Always taste them fresh first before deciding if you want to add more salt next time.
- If they ever get soft from humidity, you can briefly re-roast them to bring the crunch back.
- Double or triple the batch if you're serving guests—they disappear faster than you'd expect.
 Save
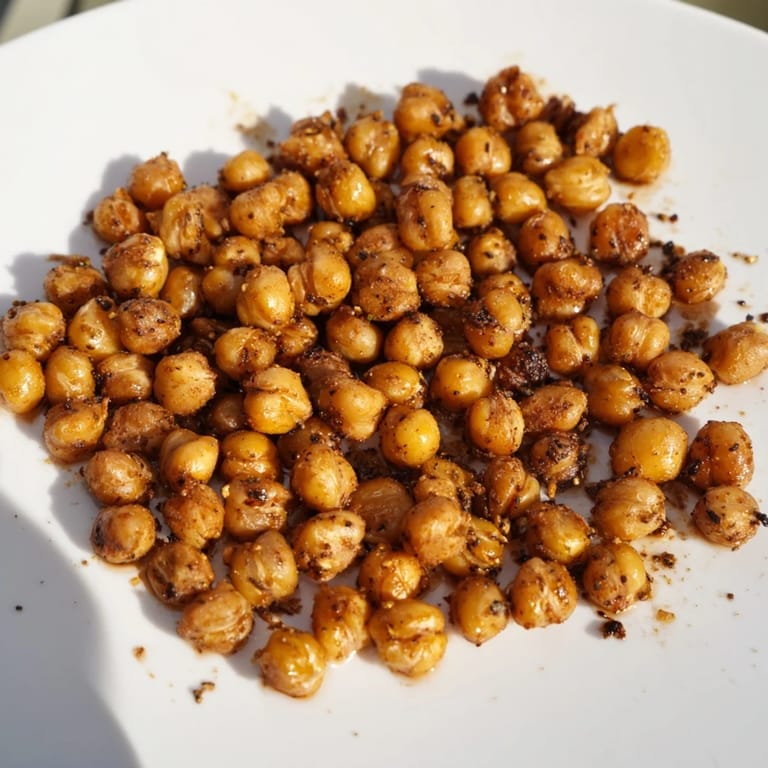
Save These chickpeas became my answer to the 3 p.m. snack slump, and now I keep a batch on hand almost always. There's something genuinely satisfying about eating something that tastes indulgent but actually fuels your body.
Recipe FAQs
- → How do I ensure chickpeas get crispy?
Pat the chickpeas dry thoroughly before seasoning and spread them in a single layer on the baking sheet. Stir every 10 minutes while roasting to crisp evenly.
- → Can I customize the seasoning?
Yes! Experiment with different spice blends such as curry powder, Italian herbs, or chili lime for varied flavor profiles.
- → Is this snack suitable for special diets?
The snack is vegan, gluten-free, and high in protein, making it suitable for many dietary preferences.
- → How should I store leftovers?
Let the roasted chickpeas cool completely, then store in an airtight container at room temperature for up to 3 days to maintain crispness.
- → Can canned chickpeas be used?
Yes, just drain and rinse canned chickpeas well, and dry them completely to achieve the best crunch.