 Save
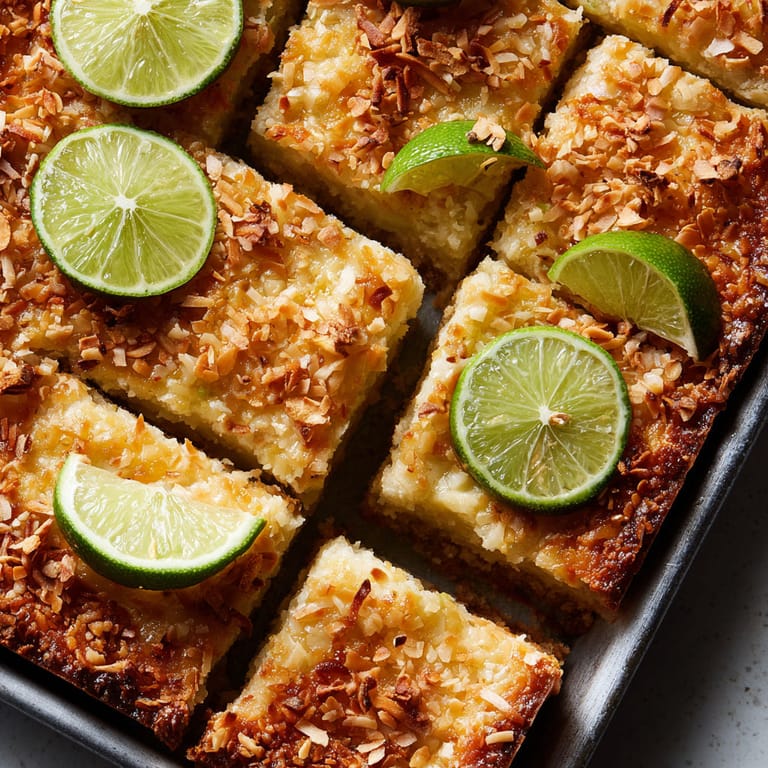
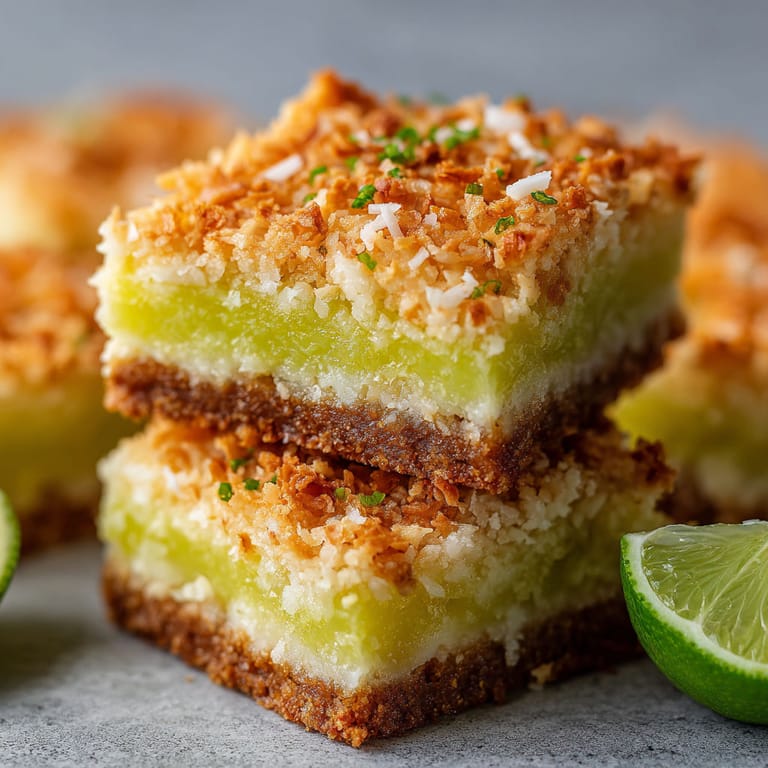
Save Bright and zesty coconut lime bars always put a smile on my face with their creamy tart filling and ultra-crisp coconut crust. They are perfect for bake sales or as a sunny pick-me-up dessert all year round.
My family loves these for weekend brunch or as a not too sweet dessert after a spicy meal. I first made these years ago when I had a surplus of limes and the combination with coconut instantly became a favorite.
Ingredients
- Shredded coconut: Makes both the crust and topping full of tropical flavor
- Flour: Gives the crust structure and keeps the bars tender not cakey. For best results look for a trusty all purpose
- Sugar: Is just right for both the coconut mixture and lime filling try to use fine pure cane for better dissolve
- Butter (melted): Helps the crust hold together and brings rich flavor
- Eggs: In the filling set everything in a lovely custardy texture choose large eggs for best results
- Lime juice: Brightens the bars and gives the zippy balance to coconut
- Lime zest (optional): For extra oomph try adding some fresh lime zest to your crust for an aromatic twist
Tired of Takeout? 🥡
Get 10 meals you can make faster than delivery arrives. Seriously.
One email. No spam. Unsubscribe anytime.
Instructions
- Prepare the Crust:
- Mix together the shredded coconut flour sugar and melted butter in a large bowl. Use a spatula or clean hands so all the coconut is evenly coated and moistened. Press the mixture firmly into a parchment lined pan so the base is solid and flat. This step ensures your crust is crunchy with every bite.
- Bake the Crust:
- Transfer the pan to a preheated 350 F oven and bake for about fifteen minutes. The goal is a lightly golden crust that is set but not browned too deeply so it stays crisp yet allows the lime filling to shine.
- Make the Filling:
- While the crust bakes whisk the eggs sugar flour and lime juice in another bowl until completely smooth and no pockets of flour remain. Mixing well is important for a silky filling that bakes evenly. If you like a stronger lime punch add a little extra zest now.
- Pour and Bake:
- Carefully pour the lime filling over the warm crust straight from the oven. Tilt the pan if needed for even coverage. Return to the oven and bake another twenty five minutes. The bars should be mostly set in the center with just a slight jiggle when you shake the pan.
- Cool and Finish:
- Let the bars cool completely in the pan for easy cutting. Toast a handful of extra coconut in a dry pan over low heat stirring frequently until golden. Sprinkle this on top once the bars are cool for extra flavor and crunch.
 Save
Save I always look forward to using fresh limes from my neighbor’s tree every summer. Their tang with the sweet coconut brings back memories of making these bars with my aunt for family picnics.
Storage Tips
Keep bars in a sealed container in the refrigerator for firm squares and the best flavor. They also freeze really well just slice and wrap them individually so you can enjoy a bright tropical treat any time. If layering the bars in a container use parchment between layers to prevent sticking.
Ingredient Substitutions
Swap regular flour with a good gluten free blend for celiac friendly treats. Coconut sugar works instead of white sugar for a more caramelized taste. If you are out of limes lemons will make these taste just as refreshing though a little sweeter.
Serving Suggestions
Dust cooled bars with extra lime zest or powdered sugar just before serving for a bakery effect. These taste amazing with iced tea or as a surprise addition to a dessert platter with fresh fruit. You can cut them into classic squares or try triangles for a change.
Cultural and Seasonal Context
Lime and coconut is a classic pairing from tropical regions and these bars suit summer picnics as well as winter gatherings. Depending on the season you can top them with some toasted coconut colored in green and yellow for a festive look or serve with a side of pineapple for a springtime twist.
Seasonal Tips
Use fresh lime juice for the brightest tang. Try pink or red grapefruit juice in place of lime for a wintery variation. Toast coconut just before using for deepest aroma.
Success Stories
Friends have told me these bars disappeared in minutes at school bake sales and one neighbor now requests them as her birthday treat every year. The chewy crust wins over coconut skeptics and the filling is always the right level of bright and sweet.
Freezer Meal Conversion
These bars freeze perfectly for up to two months. Once cooled cut into pieces and wrap in parchment then keep in an airtight bag. Take out and thaw at room temperature for a quick sweet bite any time you miss the taste of sunshine.
Save If you want bars with truly bold lime flavor roll your fresh limes on the counter before juicing to release more juice and always zest first then squeeze. These coconut lime bars really do taste like a tropical vacation no suitcase required.
Recipe FAQs
- → How do I achieve a crisp coconut crust?
Combine melted butter, shredded coconut, flour, and sugar thoroughly, then firmly press the mixture into the baking pan before baking. This ensures a crunchy base.
- → Can I use bottled lime juice?
Fresh lime juice is recommended for the brightest flavor, but bottled juice can be used in a pinch if necessary.
- → How do I toast coconut for the topping?
Spread shredded coconut on a baking sheet and bake at 350°F for 3-5 minutes, stirring occasionally until golden brown.
- → Should the bars be chilled before serving?
Allow the bars to cool completely for easier slicing and a firmer texture. Chilling enhances the flavor.
- → What’s a good creative twist to add?
Incorporate lime zest into the crust for extra citrus aroma and a refreshing zing.