 Save
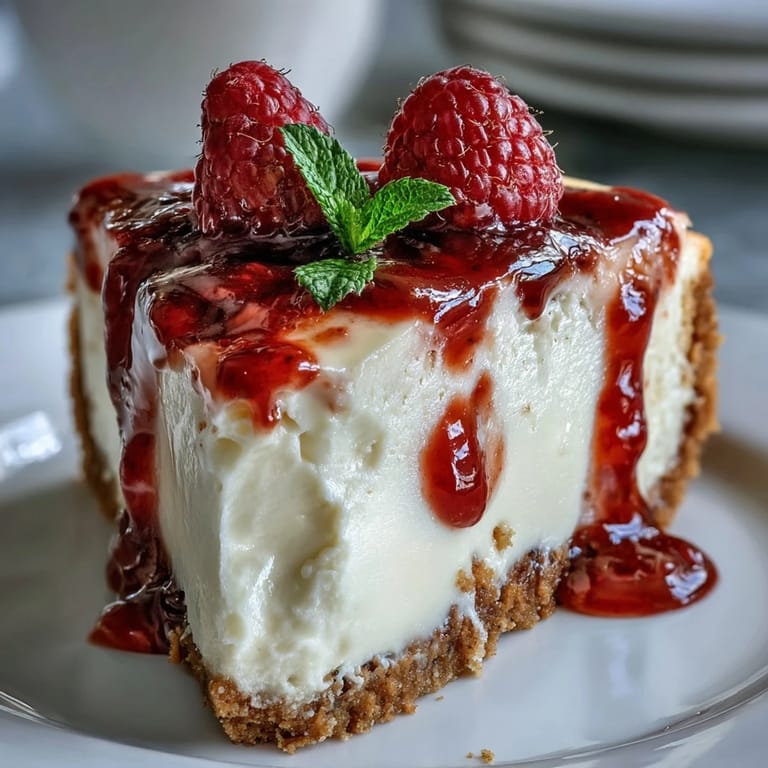
Save There's a particular kind of silence that falls over a kitchen when you're waiting for a cheesecake to set—a patience I didn't have when I first started baking. My neighbor brought over a slice of white chocolate raspberry cheesecake one afternoon, and I remember sitting on the porch, tasting that first creamy forkful and thinking how something so indulgent could feel so delicate. That moment shifted something in me about what dessert could be. Now, years later, this is the one I make when I want to remind myself why I fell in love with baking in the first place.
I baked this for my sister's engagement party last spring, and watching people close their eyes after that first bite—that's when I knew this recipe was something special. Someone asked for the recipe that night, then someone else, and by the end of the evening I was writing it down on napkins. It's become the dessert I reach for when I want to celebrate something properly.
Ingredients
- Graham cracker crumbs (1 1/2 cups): The foundation needs to be sturdy enough to hold without crumbling when you cut through it, so press them down with real intent—don't be gentle.
- Melted butter (6 tablespoons): This binds everything together and keeps the crust from feeling sandy; use real butter, not margarine.
- Fresh or frozen raspberries (1 cup): Frozen works just as well as fresh and sometimes better since they're picked at peak ripeness; they break down into sauce more easily.
- White chocolate (12 ounces): Quality matters here because this is your star ingredient; cheap white chocolate tastes waxy, so find something decent with cocoa butter listed in the ingredients.
- Cream cheese (24 ounces): Room temperature is non-negotiable—cold cream cheese creates lumps and an uneven texture that no amount of beating will fix.
- Sour cream (1 cup): This adds tang and keeps the cheesecake from being sickeningly sweet; don't skip it or use Greek yogurt as a substitute.
- Eggs (3 large): Add them one at a time and mix just until combined, because overbeating creates air bubbles that can cause cracks.
Tired of Takeout? 🥡
Get 10 meals you can make faster than delivery arrives. Seriously.
One email. No spam. Unsubscribe anytime.
Instructions
- Toast and press your crust:
- Mix the graham crackers, sugar, and melted butter until it resembles wet sand, then press it firmly into your springform pan with the flat bottom of a measuring cup. Bake at 325°F for 8 minutes to set it, which prevents it from becoming soggy later.
- Build your raspberry sauce:
- Combine raspberries, sugar, and lemon juice in a saucepan and cook over medium heat, stirring occasionally, until the mixture thickens and coats the back of a spoon—about 5 to 7 minutes. Strain it through a fine mesh if you want a seedless finish, though the seeds add a nice texture.
- Melt your white chocolate gently:
- Use a double boiler or microwave in 20-second bursts, stirring between each burst, until completely smooth—white chocolate burns easily and seizes up if you rush it. Let it cool for a few minutes so it doesn't scramble the eggs when you fold it in.
- Beat cream cheese until cloud-like:
- In a large bowl with an electric mixer, beat the softened cream cheese and sugar for 2 to 3 minutes until it's light and fluffy, scraping down the bowl often. This incorporates air and creates that signature creamy texture.
- Add eggs with restraint:
- Drop each egg in one at a time and mix on low speed just until the yolk disappears—overmixing at this stage introduces too much air and causes cracking. Add vanilla, sour cream, and heavy cream, then fold in the cooled white chocolate with a spatula.
- Create your swirl pattern:
- Pour half the batter over the crust, dollop half the raspberry sauce on top, then drag a knife through it a few times for a marbled effect. Repeat with the remaining batter and sauce, swirling again.
- Prepare your water bath:
- Wrap the springform pan tightly in two layers of foil, then set it in a larger roasting pan and fill the roasting pan with hot water until it reaches halfway up the sides. This gentle, moist heat prevents the top from cracking and keeps the filling silky.
- Bake with patience:
- Bake at 325°F for 60 to 70 minutes until the edges are set but the center still jiggles slightly when you gently shake the pan—this wobble means it's perfectly creamy inside. Turn off the oven, crack the door open, and let it cool inside for a full hour.
- Chill thoroughly:
- Remove from the water bath and refrigerate for at least 4 hours, but overnight is even better because the flavors meld and the texture sets completely. This patience is what separates an okay cheesecake from one that feels special.
 Save
Save The first time someone told me this cheesecake reminded them of a restaurant dessert, I nearly teared up—not because I'm sentimental, but because it proved that patience and proper technique actually matter. This isn't a quick fix dessert, but it's the kind that feels like you've given someone something real.
The Secret to Clean Slices
After the first slice, your knife is going to want to stick and drag, which makes every subsequent cut look messy. Run a thin, sharp knife under hot water, wipe it dry, then make your cut in one smooth motion—don't saw back and forth. Between each slice, rewet and dry the knife again, and you'll end up with beautiful, clean pieces that look like they came from a bakery.
Flavor Pairing Ideas
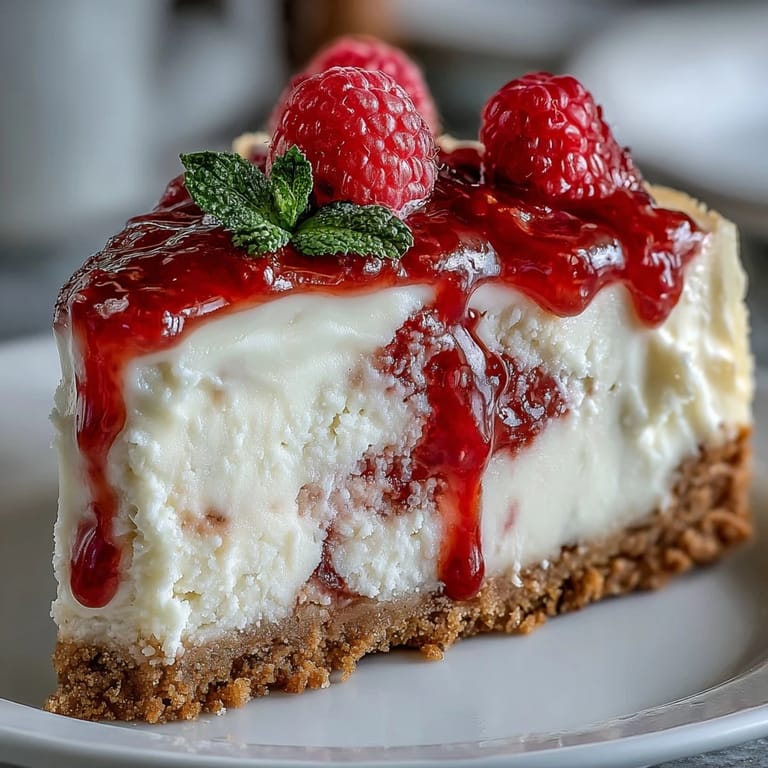
This cheesecake pairs brilliantly with things that have acidity or effervescence—sparkling wine, Moscato, or even a strong cup of espresso will cut through the richness and make each bite feel lighter. I've also served it with a drizzle of raspberry coulis on the plate and a tiny mint leaf, which sounds fancy but takes literally two extra minutes.
Making It Your Own
The beautiful thing about this recipe is that it's flexible enough to adapt without losing its soul. You could swap the raspberries for blackberries or even passion fruit, and the technique stays exactly the same. If you want to make it gluten-free, just use gluten-free graham crackers for the crust and check your chocolate for gluten—everything else is naturally compliant anyway.
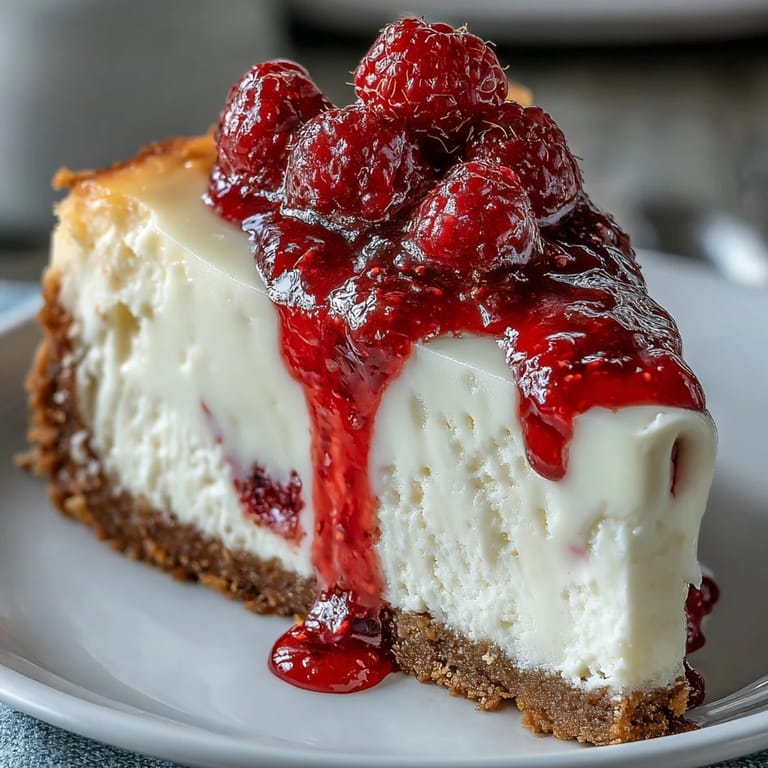
- Fresh berries on top look stunning and add a little brightness that a picture-perfect dessert deserves.
- A touch of lemon zest in the batter echoes the lemon juice in the raspberry sauce and brightens the whole thing.
- If white chocolate isn't your thing, use milk chocolate or dark chocolate and it'll be delicious, just different.
 Save
Save This cheesecake has a way of turning an ordinary afternoon into something that feels like a small celebration. Make it, chill it, and let yourself enjoy the payoff.
Recipe FAQs
- → Can I use frozen raspberries instead of fresh?
Yes, frozen raspberries work perfectly well. They may release slightly more liquid during cooking, so simmer the sauce a bit longer until it reaches the desired thick consistency. No need to thaw before cooking.
- → Why do I need a water bath for baking?
The water bath provides gentle, even heat that prevents cracking and ensures a silky, creamy texture. The steam keeps the cheesecake moist while baking. Wrapping the pan in foil prevents water from seeping in through the springform edges.
- → How do I know when the cheesecake is done?
The edges should be set and slightly puffed, while the center remains slightly wobbly when gently shaken. It will continue to set as it cools. Overbaking causes cracks and a dry texture, so remove it when there's still a subtle jiggle in the middle.
- → Can I make this cheesecake ahead of time?
Absolutely. This dessert actually tastes better when made a day ahead, allowing flavors to meld and the texture to fully set. Store covered in the refrigerator for up to 5 days. Add fresh garnishes just before serving for the best presentation.
- → What can I substitute for graham crackers in the crust?
Digestive biscuits, vanilla wafers, or Oreo cookies with the filling removed all make excellent alternatives. For a gluten-free version, use gluten-free graham crackers or almond flour mixed with melted butter and a touch of sugar.
- → How should I store leftover cheesecake?
Cover tightly with plastic wrap or store in an airtight container in the refrigerator for up to 5 days. You can also freeze individual slices wrapped well in plastic wrap and foil for up to 2 months. Thaw overnight in the refrigerator before serving.