 Save
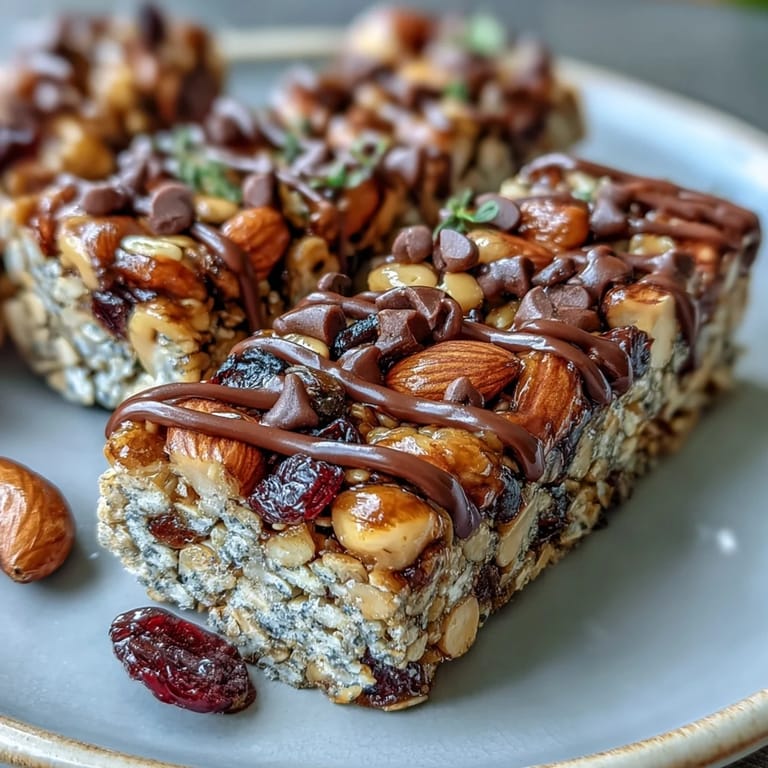
Save Last summer, I was frantically packing for a hiking trip and realized I'd forgotten snacks at the grocery store. Digging through my pantry, I found oats, peanut butter, and honey—the usual suspects—and thought, why not just mix them together without an oven? Two hours later, I had these chewy, satisfying bars that tasted like I'd actually planned ahead. My hiking buddies devoured them before we even reached the first trail marker, and I've been making them ever since whenever I need something that feels both indulgent and wholesome.
My sister was visiting from out of state, and instead of ordering takeout, I made a batch of these while we caught up in the kitchen. She grabbed one warm from the pan, declared it "way better than store-bought," and asked for the recipe before she left. Now she makes them for her kids' school lunches, and every time she does, she texts me a photo. That's when I realized this recipe had become more than just a convenient snack—it's something I get to share.
Ingredients
- Old-fashioned rolled oats (2 cups): They give the bars their hearty texture and keep you satisfied; don't swap for instant oats or they'll turn mushy.
- Crisp rice cereal (1 cup): This adds a gentle crunch that keeps things interesting and prevents the bars from being too dense.
- Mixed nuts, chopped (1/2 cup): Almonds, walnuts, or pecans all work beautifully; I usually use whatever I have on hand.
- Dried fruit (1/2 cup): Cranberries, raisins, or apricots bring natural sweetness and chewy pockets of flavor throughout.
- Unsweetened shredded coconut (1/4 cup, optional): It adds tropical warmth without extra sugar, but leave it out if you're watching your texture.
- Salt (1/4 teaspoon): Just a pinch to balance all the sweetness and make everything taste more like itself.
- Honey or maple syrup (1/2 cup): Honey gives a softer set, while maple syrup creates slightly firmer bars; pick whichever you prefer.
- Peanut butter or almond butter (1/3 cup): The creamy kind works best because it melts smoothly; chunky styles can create uneven texture.
- Vanilla extract (1 teaspoon): A small splash that somehow makes every other flavor shine a little brighter.
- Mini chocolate chips (1/4 cup, optional): Add them after the mixture cools slightly to keep them intact rather than melting into streaks.
- Chia or flaxseeds (1 tablespoon, optional): A nutritional boost that blends seamlessly into the background without changing the taste.
Tired of Takeout? 🥡
Get 10 meals you can make faster than delivery arrives. Seriously.
One email. No spam. Unsubscribe anytime.
Instructions
- Prepare your pan:
- Line an 8-inch square baking pan with parchment paper, making sure some hangs over the edges so you can easily lift out the finished bars later. This small detail saves you from frustration when it's time to cut.
- Combine dry ingredients:
- Toss the oats, rice cereal, nuts, dried fruit, coconut, and salt into a large bowl and mix everything together so the flavors are distributed evenly. This takes just a minute and makes the next step much smoother.
- Warm the binding mixture:
- In a small saucepan over low heat, gently stir the honey and peanut butter together until they're completely melted and smooth, which takes about two to three minutes. Watch it closely so nothing burns at the edges.
- Add vanilla and combine:
- Remove the pan from heat, stir in the vanilla extract, and immediately pour this warm, glossy mixture over your dry ingredients. Use a sturdy spoon or spatula to fold everything together until every oat and nut glistens with the sticky coating.
- Add chocolate chips if using:
- If you're adding mini chocolate chips, let the mixture cool for two to three minutes first so they hold their shape instead of melting into the bars. This is a small pause that makes a noticeable difference.
- Press into the pan:
- Transfer everything to your parchment-lined pan and press down firmly and evenly with a spatula or the flat bottom of a measuring cup, working from the center outward. You want it compact so the bars hold together nicely when you cut them.
- Add toppings if desired:
- Sprinkle additional chocolate chips, nuts, or seeds on top and press them in gently so they stick. This step is purely optional but makes them look and taste even better.
- Chill until set:
- Refrigerate for at least one hour, though overnight is ideal if you have the time. The bars will firm up and hold together beautifully when you cut them.
- Cut and store:
- Use the parchment overhang to lift the entire block out of the pan, then use a sharp knife to cut twelve even bars. Store them in an airtight container in the refrigerator for up to a week.
 Save
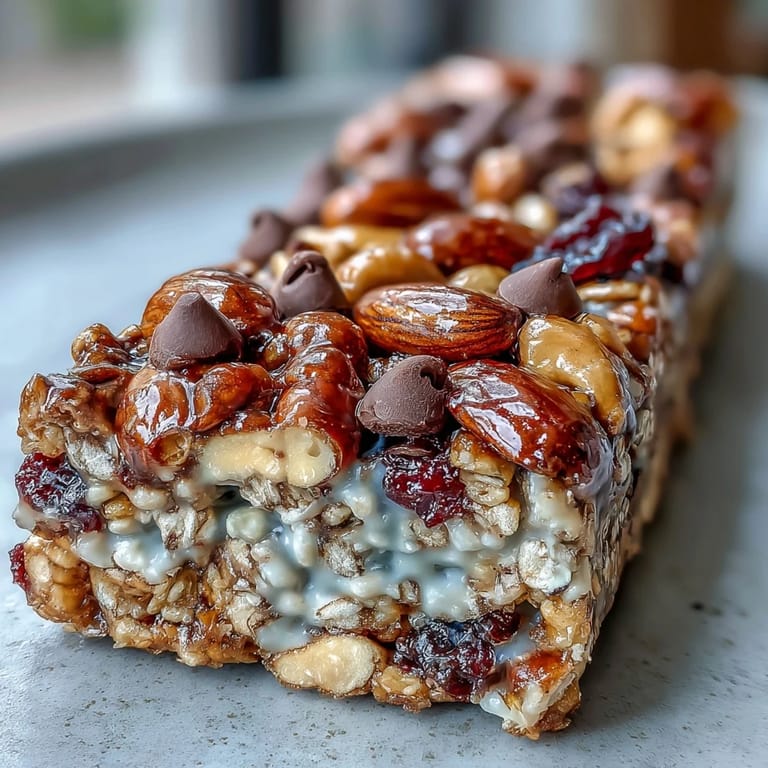
Save There's something deeply satisfying about opening your fridge and seeing a neat stack of these bars ready whenever hunger hits. It's the kind of snack that feels like self-care in rectangular form.
Make Them Your Own
The beauty of these bars is how forgiving and adaptable they are. I've made versions with sunflower seed butter for friends with peanut allergies, added a pinch of cinnamon one autumn morning, and experimented with different dried fruits depending on what's in my pantry. Once, I swapped half the oats for quinoa flakes just to see what would happen, and honestly, it worked. The formula stays the same—sticky binder, dry ingredients, chill—so the variations are endless.
Perfect Pairings
These bars stand alone beautifully, but they're even better as part of a simple spread. I love them with a tall glass of cold milk or alongside fresh berries and yogurt for a makeshift breakfast. On picnics, they pair wonderfully with iced tea, and for hiking, they're the ideal pocket snack because they don't melt in warm weather the way some bars do. They're substantial enough to quiet a growling stomach but light enough that you won't feel weighed down.
Storage and Make-Ahead Magic
I often make a double batch on a Sunday evening and have bars ready for the entire week, which cuts down on afternoon snack decisions and stops me from reaching for less nutritious options when I'm tired. You can also freeze them for up to three weeks in a freezer-safe container—just grab one from the freezer in the morning, and it'll thaw to the perfect texture by lunchtime. One small note: if your kitchen is particularly warm, these bars do best stored in the fridge rather than at room temperature, so they maintain their chewy texture.
- Make a double or triple batch and freeze in portions for busy weeks ahead.
- Layer them between parchment sheets in the container so they don't stick together.
- Thaw at room temperature for thirty minutes or enjoy them straight from the fridge for a firmer bite.
 Save
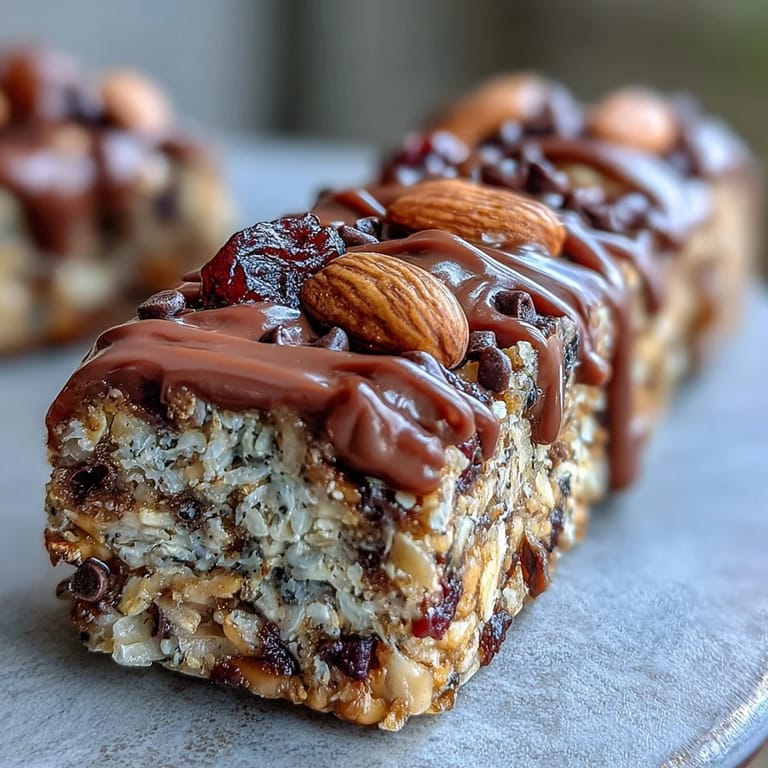
Save These bars have become my answer to "I need to bring something" moments and my default snack when life gets busy. They taste like you put in real effort, but the truth is, they're ridiculously easy.