 Save
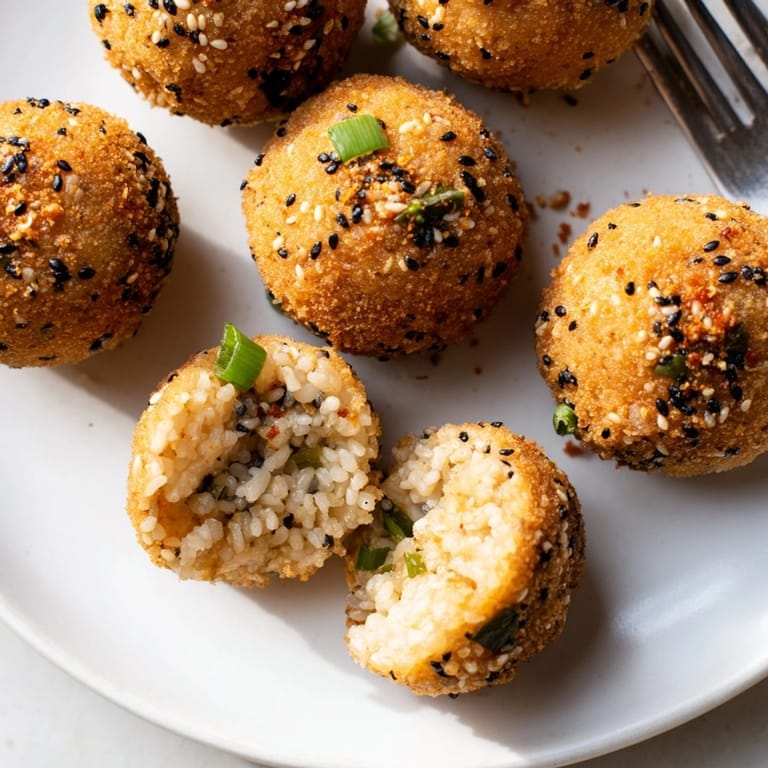
Save Crispy Japanese sesame-fried rice balls make a comforting yet lively snack that always transports me back to childhood family gatherings. Their golden crust crackles with every bite, revealing steamy, savory rice with just a hint of toasted sesame. Whether as an afternoon pick-me-up or a party appetizer, these little treats strike the perfect balance between crunch and tenderness and are surprisingly simple to achieve in your home kitchen.
Every time I make these, the kitchen smells like a Tokyo snack bar, and my friends hover close, eager for a hot bite even before they hit the platter.
Ingredients
- Cooked Japanese short-grain rice: This is the foundation for the perfect sticky yet tender texture Seek out plump glossy grains for best shaping
- Soy sauce: It infuses the rice with savory flavor Use a quality Japanese-brand for an authentic taste
- Mirin: Adds mild sweetness enhancing the overall umami Opt for real mirin rather than imitation
- Toasted sesame oil: Just a drizzle lends nuttiness and depth The aroma is essential
- White and black sesame seeds: Rolling the rice balls in both creates extra crunch and wonderful flavor Use fresh seeds for maximum impact
- All-purpose flour: Light dusting helps everything adhere Look for a fine-sifted flour for the smoothest coating
- Large eggs: Beaten as a sticky glue for the panko Always use fresh eggs when frying
- Panko breadcrumbs: These Japanese breadcrumbs stay airy and crisp after frying Choose coarse panko for best crunch
- Vegetable oil: Needed for fry crispiness Choose a neutral high-heat oil like canola or sunflower
- Chopped scallions: These are bright and fresh as garnish Use crisp bright green stalks
- Shichimi togarashi: A classic Japanese chili blend for heat Pick a small-batch version if you can find it
Tired of Takeout? 🥡
Get 10 meals you can make faster than delivery arrives. Seriously.
One email. No spam. Unsubscribe anytime.
Instructions
- Prepare the Rice Base:
- Add the cooked short-grain rice to a large bowl Drizzle with soy sauce mirin if using and sesame oil Mix gently to avoid mashing the grains but ensure every bit absorbs those aromatic flavors
- Shape the Rice Balls:
- Wet your hands so the rice does not stick Scoop roughly one-eighth of the rice and press it firmly into a ball or oval Compactness helps the balls stay together later Make them as uniform as possible for even frying
- Mix and Prepare the Coating:
- In a shallow plate combine the white and black sesame seeds Set out one plate each for flour and panko breadcrumbs and another shallow dish for the beaten eggs
- Coat the Rice Balls:
- Dredge each rice ball in flour all over Next roll it in the beaten eggs making sure every spot is coated Then roll generously in panko mixed with sesame seeds pressing gently so they stick well
- Heat the Oil:
- Pour about one inch of vegetable oil into a deep pan Heat over medium until it reaches about 350F Use a thermometer if possible The oil is ready when a breadcrumb sizzles upon contact
- Fry the Rice Balls:
- Lower several rice balls at a time into the hot oil Do not crowd the pan Fry two to three minutes per side until deeply golden and crisp Use a slotted spoon to turn and then lift them out letting excess oil drain
- Drain and Garnish:
- Rest the fried rice balls on paper towels to blot off any extra oil Serve warm scattered with chopped scallions and a little shichimi togarashi for color and gentle heat Enjoy immediately for the ultimate crunch
 Save
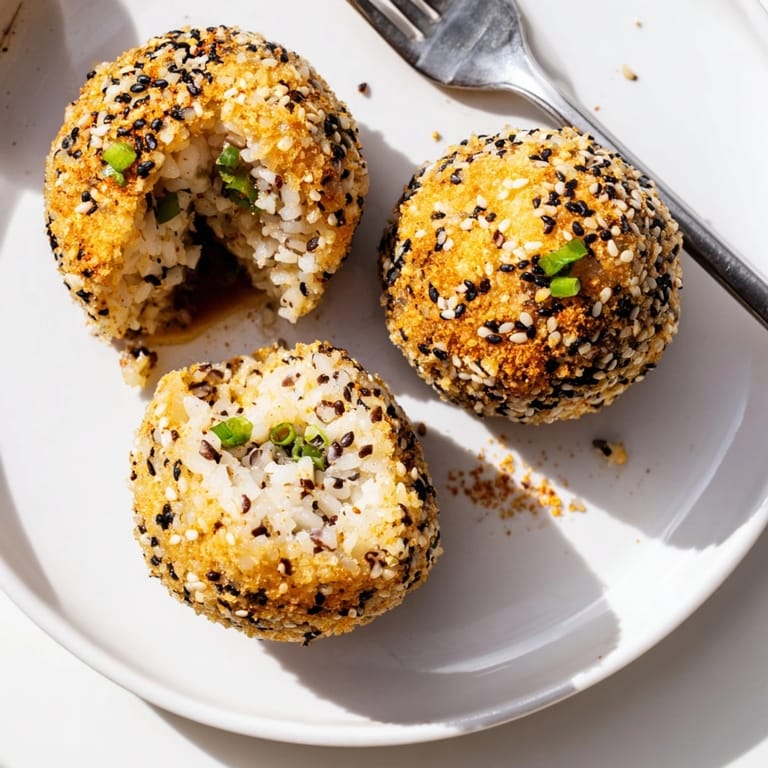
Save My absolute favorite trick is tucking a tiny cube of cheese inside each rice ball Watching it melt to gooey perfection during frying always makes my family grin and the taste is out of this world with just a sprinkle of fresh scallions on top Memories of my grandmother making these for school picnics always come rushing back when I fry up a batch
Storage Tips
Let any leftovers cool to room temperature before packing in an airtight container Store in the fridge for up to two days Reheat in an oven or toaster oven at 350F for about ten minutes to bring back the original crunch Skip the microwave to avoid soggy exteriors Freeze individually wrapped fried rice balls and re-crisp from frozen so you can enjoy a fresh snack any time
Ingredient Substitutions
Try sushi rice or any sticky short grain variety if Japanese rice is unavailable Tamari can stand in for soy sauce if you need a gluten-free swap Instead of panko you can use crushed rice crackers or cornflakes for the coating It changes the flavor but keeps the crunch
Serving Suggestions
Pair with a simple miso soup and green tea for a traditional Japanese snack meal Slice in half and dip into spicy mayo or wasabi soy sauce Pile on a platter with pickled ginger fresh cucumber and radish for a party spread
Cultural and Seasonal Notes
Onigiri is a classic Japanese comfort food that has been reinvented countless ways Goma yaki refers to frying or toasting with sesame In Japan these are often a festival or picnic snack sometimes with different regional fillings During winter months try filling the rice balls with cooked mushrooms or a dab of hot miso paste for extra warmth
 Save
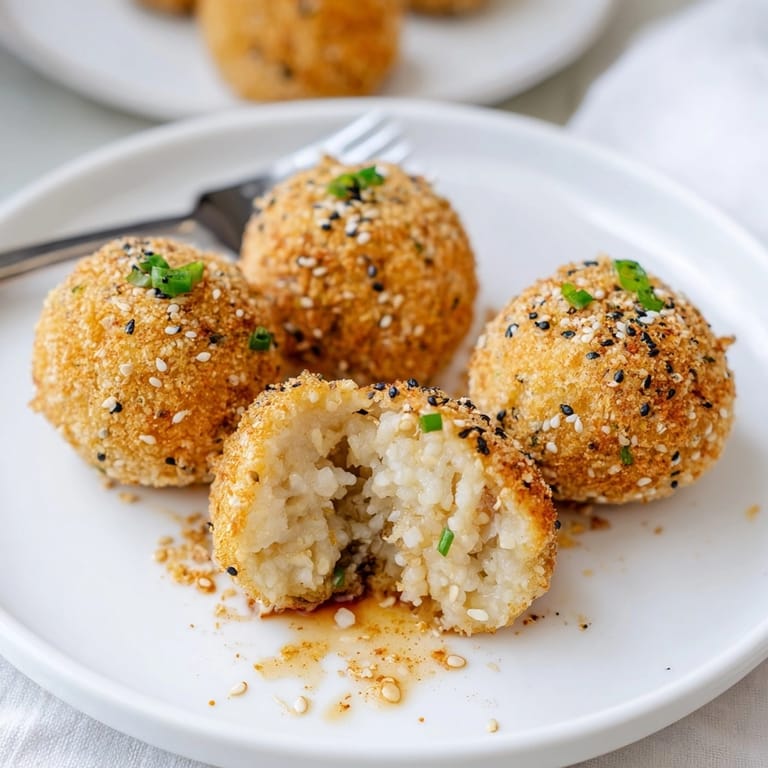
Save Enjoy these crisp little bites straight from the fryer with a sprinkle of scallions for an authentic Japanese comfort treat. Their crunchy shell and savory sesame aroma will fill your kitchen with warmth and delight.
Recipe FAQs
- → What kind of rice works best?
Short-grain Japanese rice gives ideal stickiness for shaping and holds together well during frying.
- → Can I use only white sesame seeds?
Yes, you can use all white sesame seeds if you prefer or substitute with black for added color and flavor.
- → Is mirin essential for seasoning?
Mirin adds subtle sweetness but is optional; soy sauce and sesame oil still provide plenty of flavor.
- → How do I reheat leftovers?
Reheat in a toaster oven or hot pan to retain crispiness; microwave may result in softer texture.
- → Can I make these gluten-free?
Yes, use gluten-free flour and panko, and check soy sauce labels for gluten content before using.
- → What toppings go well?
Scallions and shichimi togarashi offer freshness and heat; try nori strips or pickled ginger for variety.