 Save
Save My daughter came home from school buzzing about a rocket ship birthday party she'd seen pictures of, and suddenly our next gathering needed to be space-themed. I wanted something that would make her eyes light up the moment she walked into the kitchen, so I started playing with cheese and strawberries on a platter one afternoon. What started as a silly experiment turned into the most fun five-minute snack I've ever assembled, and now it's become our go-to trick whenever we need to make people smile.
I remember setting this out for the first time at a neighborhood potluck, nervous that it might seem too silly for a crowd of adults. But watching people stop mid-conversation to take a photo, then watching their faces light up with that first bite of sharp cheddar followed by bright strawberry—that's when I realized food doesn't have to be complicated to be memorable.
Ingredients
- Sharp cheddar cheese, 200 g in pointed wedges: The backbone of your rocket, and sharp cheddar has the bite that makes people reach for another slice. Make your wedges generous and slightly angled for that authentic pointed look.
- Fresh strawberries, 200 g sliced lengthwise: These are your flames, and slicing them lengthwise (not rounds) creates that stretched, fire-like appearance that makes the whole thing work visually.
- Cream cheese, 100 g optional: A tiny dab between cheese wedges keeps everything stable without being noticeable, like an edible glue that tastes good if someone licks it.
- Black olives, sliced optional: A single slice per olive becomes a porthole window, adding personality and a briny pop that contrasts beautifully with the cheddar.
- Carrot sticks, 2-3 thin optional: These become your fins, and their bright orange against the white platter grounds the whole composition.
- Fresh mint leaves, 1 tablespoon optional: A few leaves tucked around the base add green energy and a whisper of freshness that nobody expects from a cheese platter.
Tired of Takeout? 🥡
Get 10 meals you can make faster than delivery arrives. Seriously.
One email. No spam. Unsubscribe anytime.
Instructions
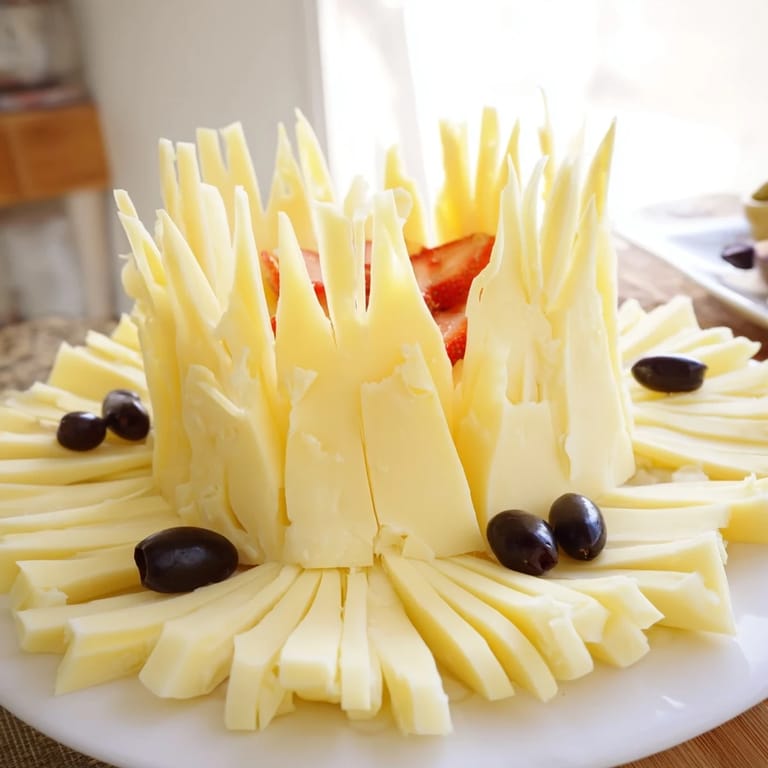
- Build your rocket body:
- Lay out your cheese wedges on the platter in a pointed formation, overlapping them slightly so they lean into each other like they're standing at attention. You're aiming for that classic rocket silhouette, narrower at the nose and wider toward the base.
- Secure with a dab of cream cheese:
- If your wedges start sliding around, use a tiny spoon to place a small dab of cream cheese between pieces—think of it as rocket fuel that holds everything in place while tasting great.
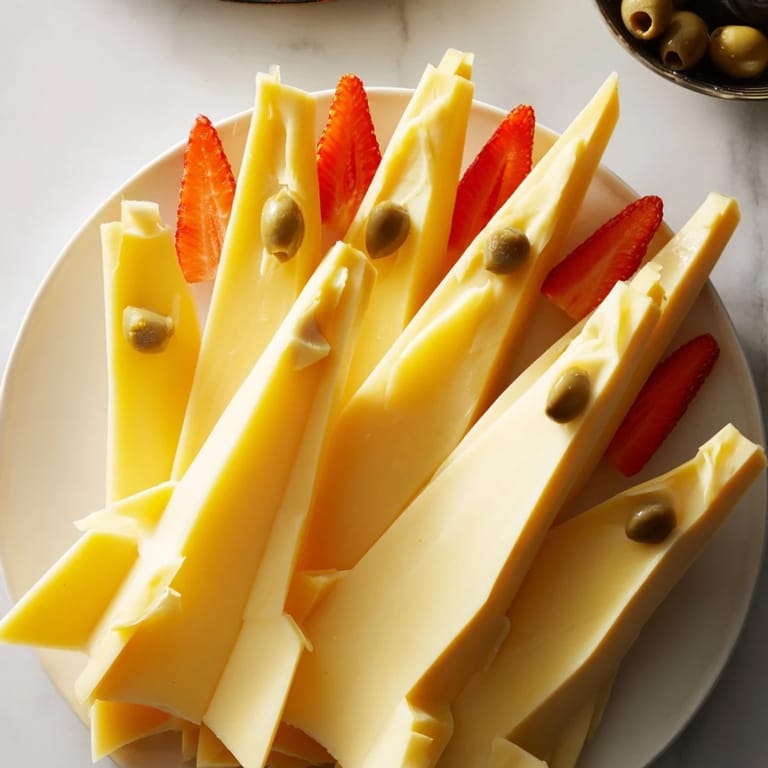
- Create your flames:
- Fan your strawberry slices out from the bottom of the rocket body in a burst, letting them overlap and angle outward to mimic fire shooting backward. The more dynamic your arrangement, the more it looks like it's actually taking off.
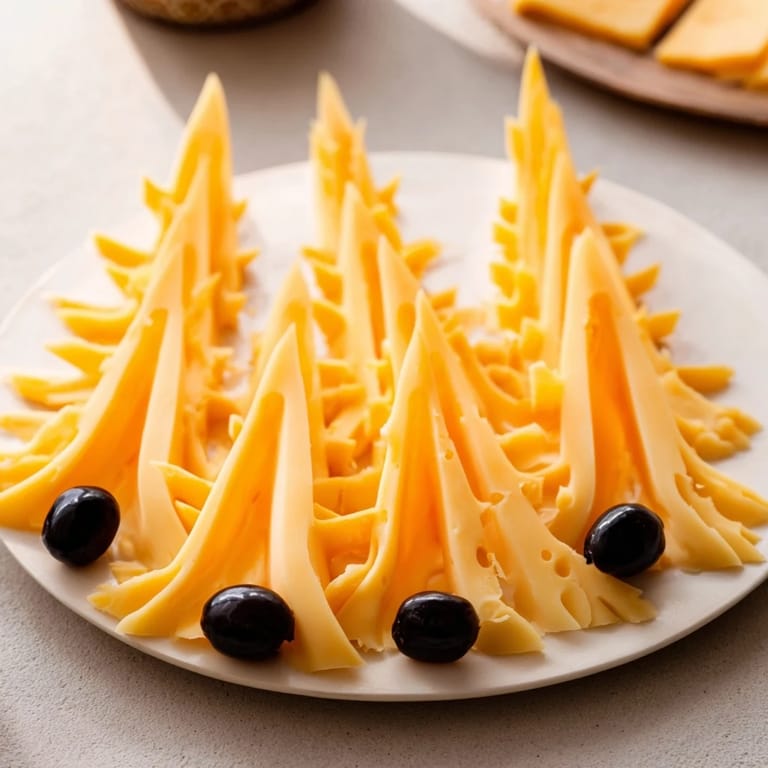
- Add windows and details:
- Place individual olive slices on the rocket body as portholes or decorative spots, creating little moments of contrast and intrigue.
- Finish with fins and greenery:
- Tuck carrot sticks along the sides as stabilizer fins and scatter mint leaves around for color and freshness, if you're using them.
- Serve or chill:
- Take it to the table immediately while everything is fresh and your presentation is sharp, or cover it loosely and refrigerate until you're ready to launch.
 Save
Save The best moment with this platter came when my nephew—who's usually glued to his phone—actually looked up from the table to ask if he could eat the rocket because it was too cool to eat. It reminded me that sometimes the most nourishing thing food can do isn't fill your belly, it's surprise you into wonder.
The Art of Cheese Platter Architecture
Building something edible that actually holds its shape teaches you a lot about balance and support that has nothing to do with cooking. The wedges lean on each other like a carefully stacked card house, and the moment you understand how they're distributing weight, you can make any shape you want. I've since discovered that this principle works for any pointed arrangement—a cheese pyramid, a sailboat with cheddar and crackers, even a little cheese Christmas tree.
Playing with Color and Flavor Combinations
Once you have the basic rocket down, you start seeing it as a canvas for color theory and flavor experimentation. Gouda wedges create a warm amber tone instead of yellow, and Swiss cheese gives you those beautiful holes that look like authentic porthole windows without even trying. A friend of mine swapped the strawberries for thin mango slices once, which gave the flames a golden glow and changed the whole mood from fiery to tropical, proving that the same shape can tell completely different stories depending on what you fill it with.
From Solo Snack to Centerpiece Moment
What started as a silly kitchen experiment has taught me that presentation isn't about being fancy—it's about giving people permission to feel delighted. The Retro Rocket works as a solo snack when you're in the mood for something that looks cool, as a kids' party centerpiece that doubles as entertainment, or as a sophisticated appetizer when you plate it on something beautiful and add a few edible flowers. Here's the honest truth about this platter: people remember the experience of eating it long after they've forgotten what it tasted like.
- Set your rocket on a platter with real height so it's visible across the room—that moment of recognition matters.
- Have small plates nearby so people can actually serve themselves without the whole thing collapsing.
- Assemble it no more than an hour before serving so the cheese is firm and the strawberries haven't started weeping juice onto everything else.
 Save
Save This platter has become my secret weapon for turning ordinary moments into the kind of memories people actually talk about. Sometimes the best recipes are the ones that make people smile before they even taste them.
Recipe FAQs
- → How do I keep the cheese wedges stable?
Use small dabs of cream cheese between wedges to help them stick and maintain the rocket shape.
- → Can I replace strawberries with other fruits?
Yes, mango or orange slices work well as alternative flame effects for the rocket base.
- → What cheeses work best for this platter?
Sharp cheddar is recommended for its pointed wedges and vibrant color, but Gouda or Swiss can add nice variations.
- → How can I add decorative details to the rocket?
Black olive slices mimic windows, and carrot sticks and mint leaves make great fins and colorful accents.
- → Is this snack suitable for dietary restrictions?
It’s vegetarian and gluten-free, but check cheese labels for any traces of nuts or gluten if sensitivities apply.